How To Descale Keurig Coffee Machines: A Complete Guide
The water used to brew your K-cups has minerals that cause limescale to build up inside your coffee maker. These are not toxic, but they can affect your Keurig’s water flow as well as the taste and temperature of your coffee. Knowing how to descale Keurig coffee makers the right way will help you keep your brewer in top shape.
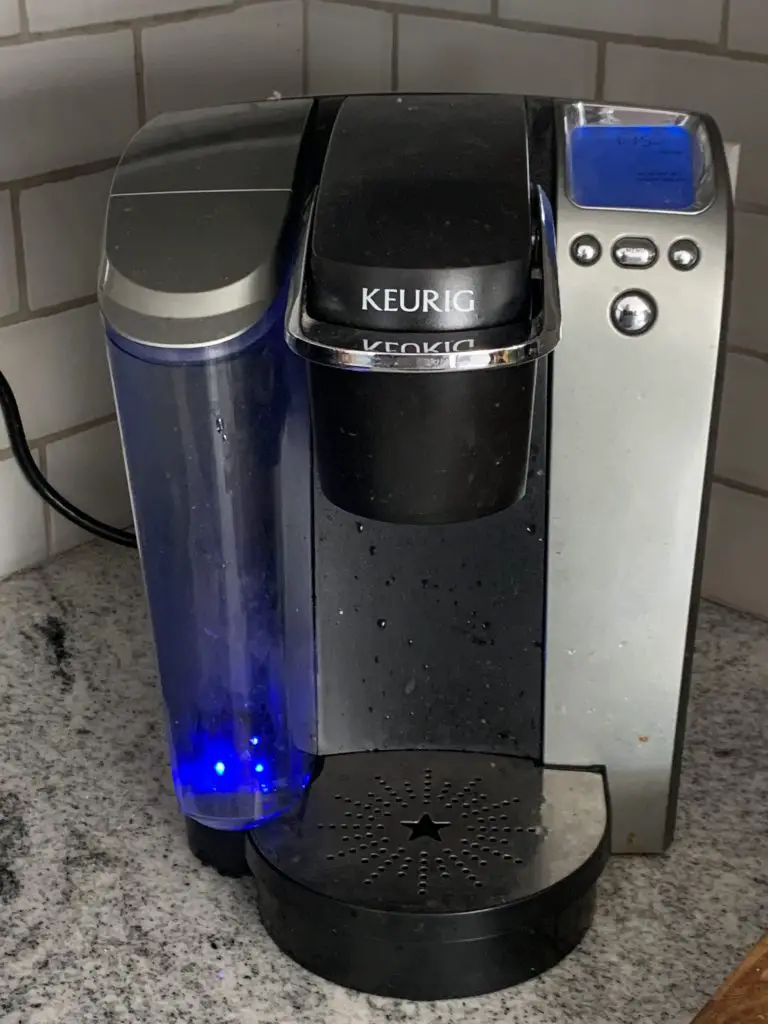
Many Keurig models will have a light that alerts you when it is time to descale. The only way to get this descale light to turn off is to to complete a descaling cycle. If you ignore this light for too long, your brewer may eventually be beyond repair. For best results, you should use a special solution that has a safe and effective formula. This will work better than vinegar. Keep reading to learn how to descale Keurig coffee makers and get answers to other common descaling questions.
How Often To Descale Keurig Machines
You should descale your Keurig every 3 months, even if you are using a water filter. Filters cannot remove all of the calcium and magnesium from the water. These two minerals cause the limescale buildup that can only be removed by descaling. If your tap has “hard water,” meaning it contains a high level of minerals, then you should descale your brewer more often. If you are unsure if you have hard water, you can get a low-cost testing kit.
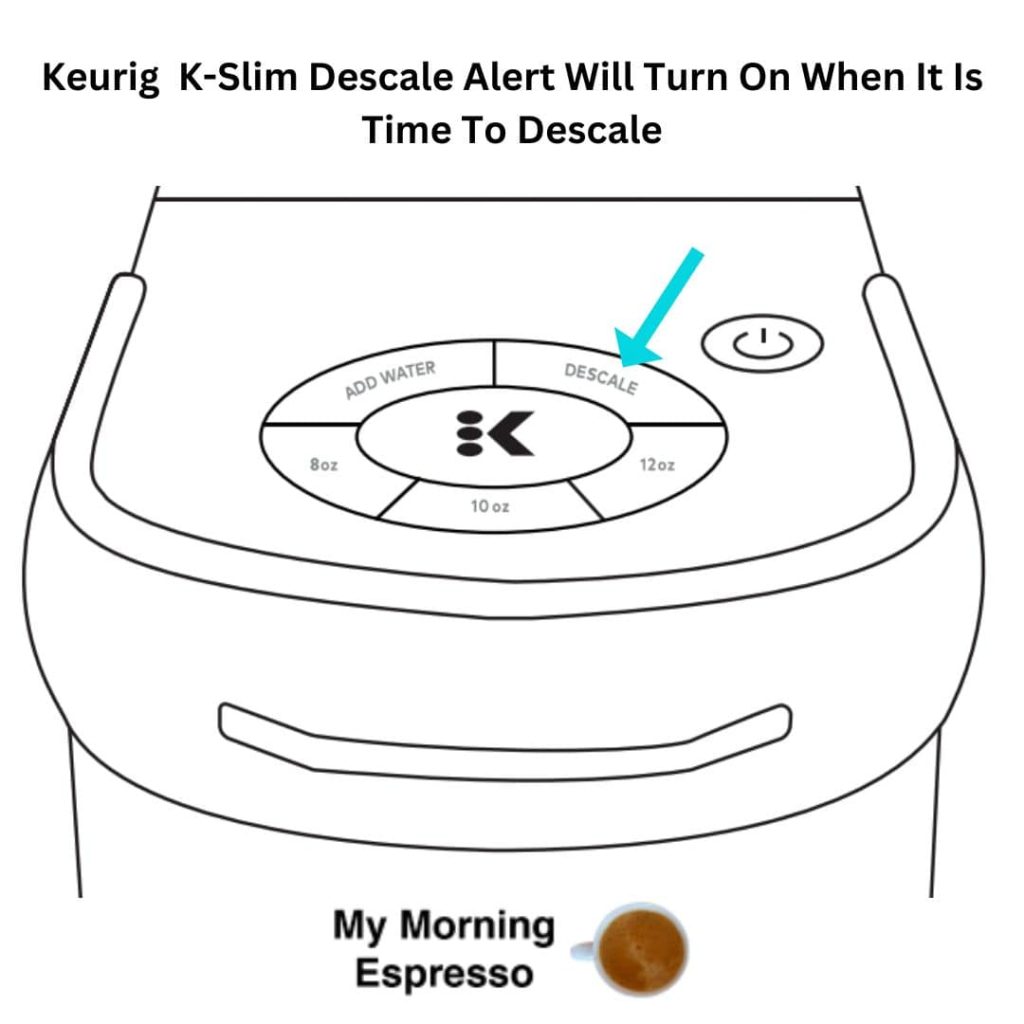
Many Keurig models will have a descale light. Older Keurig 2.0 models will let you know that it’s time to descale by showing a message on the display that says descale. Sometimes you may want to descale even if the brewer isn’t saying you need to. For example, descaling may help solve these common issues:
- Your Keurig won’t pump water
- The Keurig is leaking water
- Your favorite K-cup starts to taste bad
- It takes longer to brew a K-cup or there is only a slow drip from the outlet
- The Keurig is not making a full cup of coffee
You will also want to descale your Keurig if you’ve stored it away or not used it for a long time without emptying the internal water tank first. Since water was left inside the machine, limescale likely built up inside while it was out of use.
Can You Descale Keurig Machines With Vinegar?
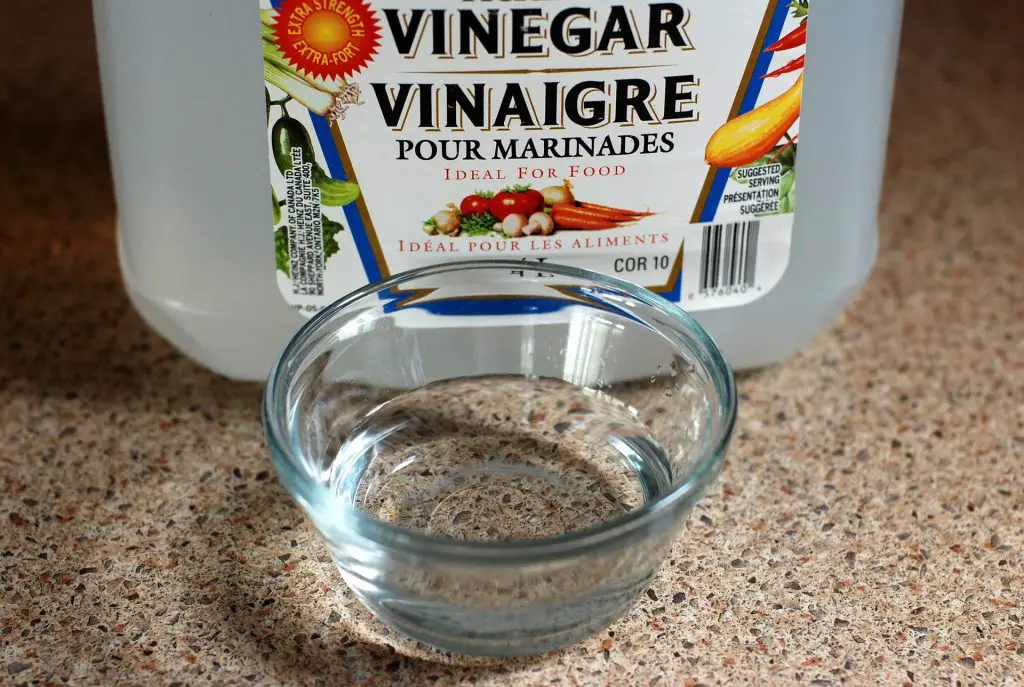
Keurig warns that you should not descale with vinegar or lemon juice. White vinegar has 5-8% acetic acid. Apple cider vinegar and lemon juice have 5-6%. This can wear down metal and cause leaks.
Using a DIY solution with vinegar or baking soda can void the warranty. You also don’t want a vinegar taste or smell in your cup of coffee. It is best to use a solution that contains safer types of acids that won’t cause damage or change the taste of your coffee.
Keurig Descaling Solutions
Keurig makes its own descaling solution that works with all models. However, there are other popular descaling solutions sold online that you can use instead.
Keurig

- INCLUDES: 4 Keurig Rinse Pods, 1 Descale Solution, and 2 Water Filter Cartridge Refills

- INCLUDES: (2) descale solution, (10) Rinse pods, and (3) water filter cartridge refills
The safe formula has no odor and acts fast to remove mineral build up with gentle citric acid. Using this solution won’t cause any harm to your brewer.
You can buy the solution alone or as part of a bundle with rinse pods and filters that will also help you keep your machine clean. If you have the K-Duo model, be sure to check out this K-Duo bundle.
Essential Values

- Best-value descaler compatible with all coffee makers
- Uses gentle and odorless citric acid
- Made in the USA
Impresa

- Great-value descaler compatible with all coffee makers
- Uses gentle citric and sulfamic acids
- Made in the USA
The Impresa descaler is a top selling descaler. It uses citric and sulfamic acids. Both are gentle on metal and aluminum. A pack has two bottles, each enough for two uses.
Where To Buy Keurig Descaling Solution
If you are an Amazon prime member, these items are eligible for fast, free shipping. However, you can also find the official Keurig solution in stores. Target sells it in store and online. You can also find the solution at Walmart and Bed Bath and Beyond.
How To Descale Keurig Coffee Machines: Instructions By Model
Traditional Keurig Brewer Group (Elite, K-Classic, K-Café, K-Latte, K-Compact, K-Select)
- Empty the water tank and K-cup pod holder. Remove any water filter from the tank. Make sure there are no coffee pods in the brewer.
- Pour the solution into the empty tank
- Fill the empty bottle with water and pour into the tank.
- Place a large mug or bowl on the drip tray
- Rinse the machine by lifting and lowering the handle and then selecting the largest brew size option.
- Repeat the rinsing step #5 until the ADD WATER indicator light is lit on your machine.
- Let the brewer rest unused for 30 minutes. Allow it and any washed parts to air dry.
- Rinse the tank. Fill the water reservoir to MAX line with fresh water only and do 12 more rinsing brews (step #5).
Keurig 2.0
Descaling a Keurig 2.0 takes about 45 minutes. Follow these steps:
- Empty the water tank and K-cup pod holder. Remove any water filter from the tank. Make sure there are no coffee pods in the brewer.
- Turn off the Keurig 2.0 by pressing and holding the power button
- Pour the solution into the empty tank
- Fill the empty bottle with water and pour into the tank.
- Place a large mug or bowl on the drip tray
- Rinse the machine by lifting and lowering the handle and then selecting the largest brew size option.
- Repeat the rinsing step #6 until the screen says “more water please”
- Let the brewer rest unused for 30 minutes. Allow it and any washed parts to air dry.
- Rinse the tank. Fill the water reservoir to MAX line with fresh water only and do 12 more rinsing brews (step #6). You may have to refill the water tank one time to complete 12 rinses.
Keurig K-Duo, K-Duo Plus & K-Duo Essentials
- Empty the water tank and K-cup pod holder. Make sure there are no coffee pods inside.
- Pour the solution into the empty tank
- Fill the empty bottle with water and pour into the reservoir.
- Place a large mug on the drip tray
- Power on the machine and then press the POD button. Next, select the 12 button and press brew to perform a cleansing brew.
- Place carafe on the heating plate, press CUPS / CARAFE button. Then do a cleansing brew by selecting the 12 button and starting the brew cycle.
- Empty the carafe and turn off the heating plate by pressing and holding the CARAFE button.
- Let the brewer rest for 30 minutes to give it time to dry. Do not power off or unplug your Keurig during this step.
- Rinse the tank and then add fresh water to it. Fill it to the MAX line.
- Place empty and rinsed carafe on the heating plate. Press the CUPS / CARAFE button and perform a cleansing brew by selecting the 12 button and hitting brew.
- After filling the tank with clean water to the MAX fill line, repeat step 10 three more times
- Remove the water tank and fill it to the MAX fill line
- Place a large mug on the drip tray, press POD button. Next, select the 12 button and press brew to perform a cleansing brew.
- Repeat step 13 three more times
Keurig Mini & Mini Plus
- Empty the water tank and K-cup pod holder. Make sure there are no coffee pods inside. Place a large mug under the coffee outlet.
- Pour one third (4.6oz) of the solution into the tank.
- Add fresh water to the tank until it is filled to the 10oz level.
- Rinse the machine by lifting and lowering the handle and then pressing the button to start the brew cycle. Discard the contents of the container into the sink.
- Repeat steps 2 – 4, but this time when the hot water solution mix begins to come out turn the machine off by pressing the power button.
- Let the brewer rest for 30 minutes. This will descale the internal water tank.
- Press and hold the brew button so that the water-solution mix will begin to come out again. Keep holding the button until all the solution has been dispensed.
- To start the rinse cycle, fill the tank with a full cup and a half of fresh water up until the 12oz fill line. Do not add any descaling solution.
- Press the brew button.
- Repeat step 8 & 9 two more times.
Keurig K-Supreme & K-Supreme Plus
- Empty the water tank and K-cup pod holder. Make sure there are no coffee pods inside.
- Pour the solution into tank
- Fill the empty bottle with water and pour into the tank.
- Place a large coffee mug or bowl on the cup holder.
- Power off the brewer and pressing down the 8oz and 12oz buttons at the same time for 3 seconds.
- When flashing begins, press the brew button to start the process.
- Repeat step 6 until the ADD WATER indicator light turns on.
- Rinse the tank. Fill it to MAX line with fresh water and press the brew button to start the rinsing process.
- Repeat the rinsing process until the light turns off.
Keurig K-Supreme Plus SMART, K-Cafe SMART, K-Supreme SMART
- Empty the water tank and K-cup pod holder. Make sure there are no coffee pods inside.
- If you see the descale notification, press the left arrow and then select continue. Choose the descaling product you have. The options will be 2 oz pouch or 14 oz bottle. If you do not have the descale notification, open settings by pressing the left and right arrow at the same time. Select descale mode.The Supreme Plus SMART model has a screen that will walk you through all of the steps you need to take to descale.
- Empty the water tank. Pour the 14 oz of solution into tank. If using the Keurig descaler, that is one whole bottle. If you are using a pouch, add 3 cups of water.
- Fill the empty bottle with water (14 oz) and pour into the tank.
- Place a large coffee mug or bowl on the cup holder.
- The BREW button should be flashing. Press it. 12 oz of hot water and solution should come out of the machine.
- Empty the mug or container and place it back. Select BREW again.
- Repeat Step 7 until the water tank is completely empty and the screen says ADD WATER.
- Rinse the water reservoir. Fill it to MAX line with fresh water only.
- Place the mug or container under the coffee outlet. When the BREW button flashes, press it to begin the rinse cycle.
- Repeat the rinsing process until the screen says DESCALE COMPLETE.
Keurig Slim
- Empty the water tank and K-cup pod holder. Make sure there are no coffee pods inside.
- Pour the solution into tank
- Fill the empty bottle with water and pour into the tank.
- Place a large coffee mug or bowl on the drip tray.
- Turn the brewer off. Then press and hold the 8oz and 12oz buttons at the same time for 3 seconds until the light turns steady and does not flash.
- Shortly after step 5, the brew button will begin flashing. At that time, press the brew button to start the rinse.
- Repeat step 6 until the ADD WATER indicator light turns on.
- Rinse the tank thoroughly. Fill it to MAX line with fresh water. Then, press the brew button once it begins flashing.
- Repeat until the ADD WATER light turns on again. At this time, the brewer is ready for use.
Keurig Slim + ICED
- Empty the water tank and K-cup pod holder. Make sure there are no coffee pods inside.
- Pour the solution into tank
- Fill the empty bottle with water and pour into the tank.
- Place a large coffee mug or bowl on the drip tray.
- Turn the brewer off by pressing and holding the BREW OVER ICE button. Then press and hold the 8oz and 12oz buttons at the same time. Continue to hold until the light turns steady and does not flash, about 3 seconds.
- Shortly after step 5, the brew button will begin flashing. At that time, press the brew button to start the rinse.
- Repeat step 6 until the ADD WATER indicator light turns on.
- Rinse the tank thoroughly. Fill it to MAX line with fresh water. Then, press the brew button once it begins flashing.
- Repeat until the ADD WATER light turns on again. At this time, the brewer is ready for use.
How To Reset Keurig Descale Alert That Stays On After Cleaning
If you really can’t get the descale light to turn off, your backup plan is to try to reset the light. On some models it is easier to do than on others.
How To Reset Keurig K-Duo Descale Message
K-Classic Reset
How To Reset Other Keurig Models after Descale
The process is to reset other models is a bit less straightforward. See my related post for detailed steps to follow to reset your model.
Amazon Item Images and Prices Last update on 2026-04-29 / Affiliate links / Images from Amazon Product Advertising API
I have gone through the entire “descaling” process two times and the descaling light is still on.
Is there a way to turn it off? I’m not happy!!
If you have information, please do so via email as i don’t hear well.
Thank you,
Joel,