How To Use Nespresso Milk Frother In 4 Easy Steps (Aeroccino 3, 4 & XL)
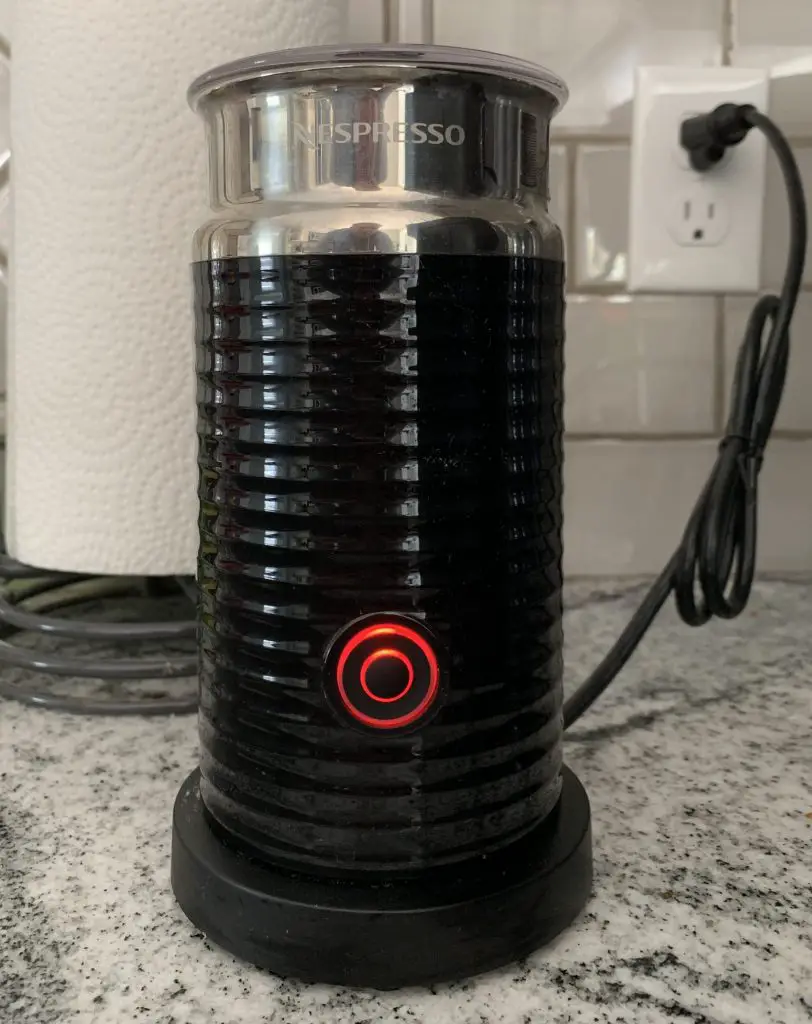
Did you recently get a Nespresso machine? Welcome to the club! Learn how to use Nespresso frother and you’ll be brewing up delicious cappuccinos and lattes in minutes. Not only will it be fast, but it will also be at a fraction of what it would cost you to buy one at your favorite coffee shop.
Nespresso makes four different electric milk frothers – the Aeroccino 3, the Aerocinno 4, the Aeroccino XL and the Barista Recipe Maker. The Aeroccino 3 is by far the most commonly used Nespresso milk frother since it is the one sold as part of a bundle with most Vertuo and Original espresso machines. This frother works very well and is super easy to use. Keep reading to learn how to use Nespresso milk frothers.
No products found.
How To Use Nespresso Frother Aeroccino 3
Make sure the underside of the jug is dry. Place the jug on the base. Then just follow these three simple steps.
Step 1: Choose Steamed or Frothed Milk
The choice between steamed or frothed milk comes down to the type of espresso-based drink you are trying to make. If you want a cappuccino with cloud-like milk foam, you need to froth. If you want a latte, you need steamed milk.
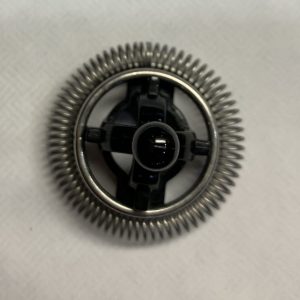
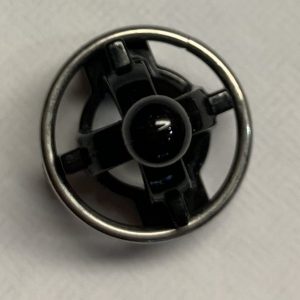
A lot of people get confused by the Aeroccino whisk and the different use cases. You will need to modify the whisk for either frothing or steaming. If you want to froth milk for a cappuccino, leave the coil ring around the whisk. If you want to steam for a latte, simply pop off the coil ring and put it aside. It will take just over a minute to froth and just over two minutes to warm.
Step 2: Add Your Fresh Milk
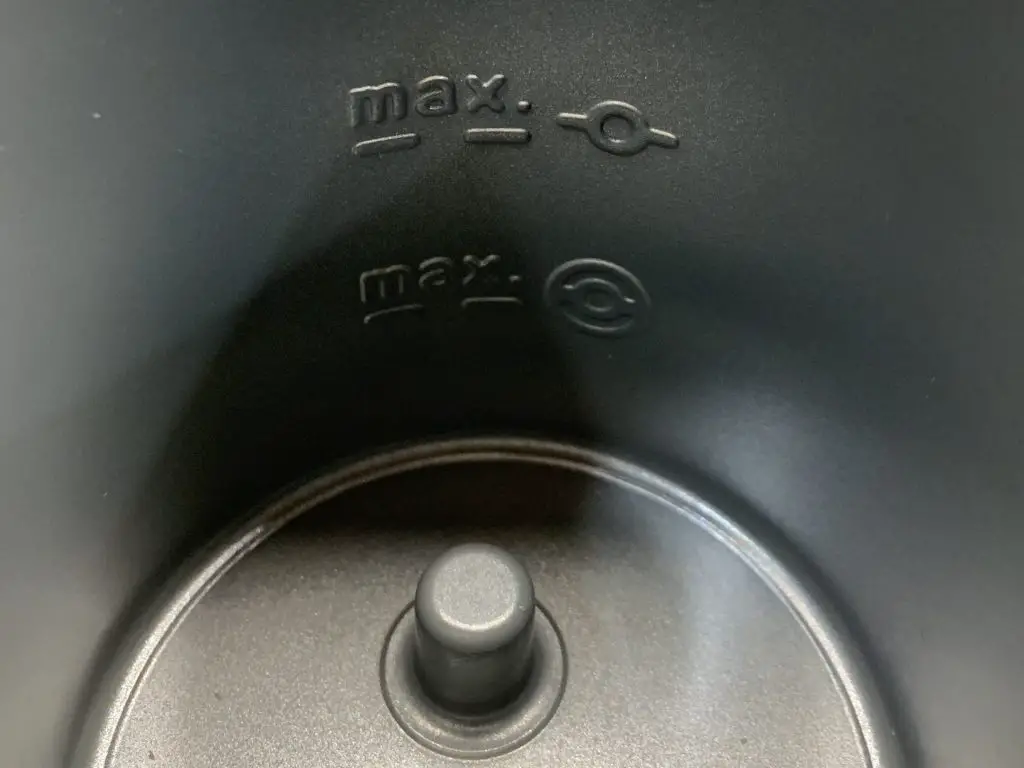
Add the desired level of milk to one of the two max levels on the container. If you are using the coil ring to froth, never fill above the lower max line otherwise it will overflow. If you are not using the ring, you can fill to either max line depending on the size or number of drinks you are making and how much milk you want.
If you drink dairy, whole milk at refrigerator temperature works best for frothing. It has an optimal level of lactic sugar, protein and fat that results in just the right level of creaminess and amount of foam. If you don’t like whole, I recommend using 2% reduced fat instead of skim milk. Skim just can’t yield the taste or texture most people expect with their latte or cappuccino because it has no fat.
After your milk container has been opened for 3 or more days, the protein properties of the milk can start to change due to exposure to light and oxygen. This can make the same jug of milk froth less well than the day before. Shake up the milk before pouring into the frother to try to mitigate this. If you are using older milk, you can also try cold frothing first followed by a warm frothing cycle. You might end up with more froth from less fresh milk this way.
For people who prefer to drink plant-based milk, the best options are almond, oat or soy milk. All of these will froth well and create foam, especially those labeled as a “barista version”. Other types of non-dairy milks like cashew or coconut milk won’t make a foam that is as dense as the others.
Step 3: Choose The Temperature
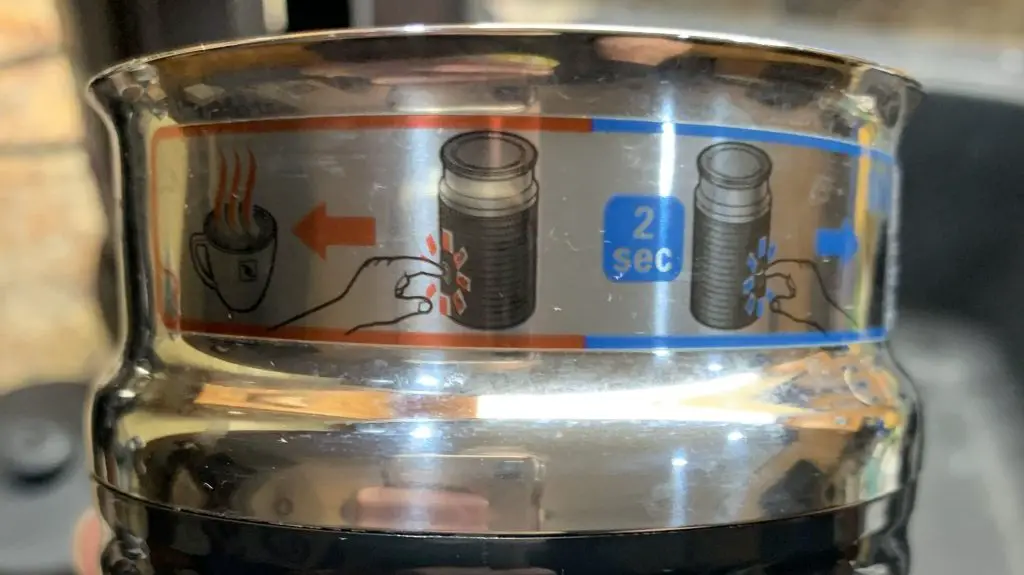
The Aeroccino 3 can be used to prepare milk froth that is hot or cold. If you want hot froth, just press the button once. If you want cold froth, quickly press the button twice within 2 seconds. While the frother is in operation, the light will be red if it is making hot froth and blue if cold.
Step 4: Combine Espresso and Milk
Use your Nespresso machine to prepare the espresso or double espresso while the frother is working. You can find my favorite Nespresso pods for lattes in my related post. Generally speaking, I think the dark roast pods with a higher intensity level work best for milk-based drinks. You’ll also find pods like the Vertuo Bianco Leggero that Nespresso specifically recommends using with milk. For both a cappuccino and a traditional caffe latte, you want to add the milk from the jug to the espresso.

How To Use Nespresso Aeroccino 4 Frother
- Add milk to either the of the MAX lines inside the frother. The bottom MAX line is for hot or cold frothed milk (with the coil ring on the whisk). The upper MAX line is for hot milk (without the coil ring on the whisk). Be sure to never fill below the bottom MAX line.
- Place the lid on the jug and put the jug on the base. The 4 buttons on the base will light up.
- Press the button for the milk preparation you want – cold macchiato, hot milk, latte macchiato (warm, dense foam) or cappuccino (warm and airy foam).
- Use a non-metal spoon to remove any milk foam from the jug.
- The Aeroccino 4 will turn off by itself after 9 minutes. Be sure to wash the jug and the whisk.
How To Use Nespresso Aeroccino XL Frother
- Add milk to either the MIN line or one of the MAX lines inside the frother. The bottom MAX line is for hot or cold frothed milk (with the coil ring on the whisk). The upper MAX line is for hot milk (without the coil ring on the whisk). Be sure to never fill below the MIN line.
- Here are some helpful tips on how much milk to use depending on
- 3 Cappuccinos with single espresso – fill to the lower max line, use whisk with coil
- 1 Large Cappuccino with double espresso – fill to the min line, use whisk with coil
- 2 Freddo (Cold) Cappuccinos with single espresso – fill to the lower max line, use whisk with coil
- 1 Large Freddo (Cold) Cappuccino with double espresso – fill to the min line, use whisk with coil
- 1 Latte Macchiato – fill to the min line, use whisk with coil
- 1 Large Latte Macchiato – fill to the lower max line, use whisk with coil
- 2 Iced Latte Macchiatos – fill to the lower max line, use whisk with coil
- 1 Large Iced Latte Macchiato – fill to the min line, use whisk with coil
- Caffe Latte – fill to the top max line, use whisk without coil
- Place the lid on the jug and put the jug on the base. A white light should appear briefly.
- The next step will depend on what milk temperature you are trying to prepare. For hot, press the button quickly. For cold froth, press and hold the button for at least 2 seconds.
- The Aeroccino XL will make a sound and turn off when the milk is ready. Be sure to use a non-metal spoon to help get the milk out (metal may scratch the interior surface).
Amazon Item Images and Prices Last update on 2025-06-21 / Affiliate links / Images from Amazon Product Advertising API

