Keurig Cup Sizes Easily Explained: A Guide For Beginners

Nowadays, there is only one size of Keurig K Cups. However, you can use any K Cup to brew a variety of Keurig cup sizes. You do this by selecting one of the three to five cup Keurig button sizes your brewer may have (it varies by model). Keep reading to learn everything you need to know about Keurig K Cup size options.
Does Keurig K Cup Size Vary By Pod?
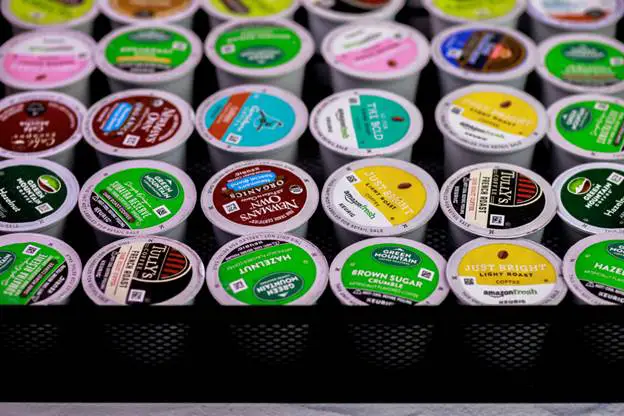
Though Keurig K Cups will vary in flavor, strength, caffeine levels and other attributes, they all share one thing in common: size. Today all Keurig K cups are the same size and shape. This is a big difference between Keurig and Nespresso. Some Nespresso models can have up to five or six different pod sizes!

In the past, there were larger K Cups that brewed 4 cup carafes of coffee. These were only compatible with Keurig Plus and Keurig 2.0 models. Both series have since been discontinued, which is why these larger carafe K cup sizes are no longer available. If you happen to have either model, you can still find reusable carafe K cups that allow you to use your own coffee grinds to brew 4 cups of coffee at a time.
How To Adjust The Keurig Cup Sizes
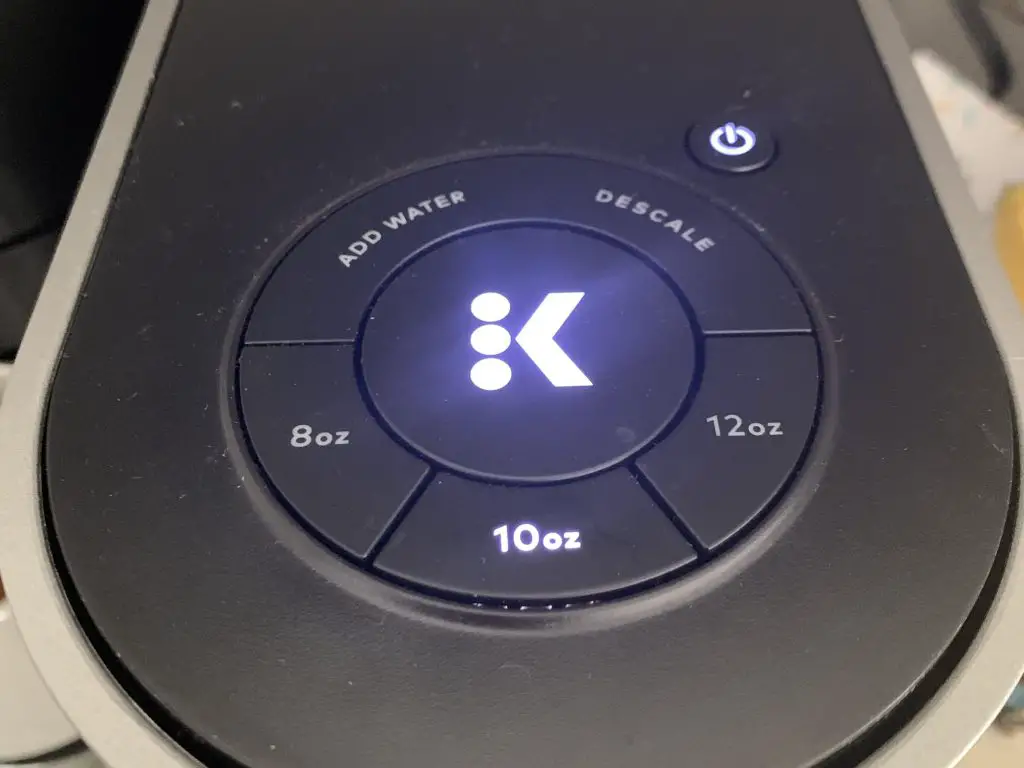
Even though there’s just one standard K cup size, you can use them to brew up to five coffee sizes. Depending on the Keurig model you have, you’ll see buttons for at least three of five cup sizes: 4 oz, 6 oz, 8 oz, 10 oz, or 12 oz. All Keurig brewers will be able to make 8 or 10 oz, then usually either 6 oz or 12 oz. Some newer models also have the 4 oz option. The K-Cafe and K-Latte lines have a SHOT button that brews a 2 oz coffee for use in drinks that are similar to a latte or cappuccino.
If you have a Keurig K-Mini or K-Mini Plus, you won’t see any cup size buttons. Just add 6 to 12 oz of water to the reservoir depending on how much coffee you want and hit brew.
How To Choose Keurig Cup Sizes Based On The Coffee Strength You Want
If you have the 4 oz button, it’s great for brewing the strongest tasting coffee you can get from Keurig. If you don’t have this button, then use whatever the smallest size button is for a stronger tasting coffee. This is also good advice for when you are making an iced coffee. Since the melting ice will dilute the coffee, its better to start with a stronger brew. When you need a bigger cup of coffee to sip on, use the largest cup size button on your Keurig. If you find the taste of a 12 oz brew too weak, try choosing a 8 or 10 oz cup size next time.
Keurig Cup Sizes By Keurig Coffee Maker Model
Only a couple Keurig coffee makers can actually brew all five cup sizes. The table below summarizes the cup sizes you can brew with the Keurig models that are still in production in 2022.
| Model | 12 oz | 10 oz | 8 oz | 6 oz | 4 oz | 2 oz SHOT |
|---|---|---|---|---|---|---|
| K-Cafe Essentials | X | X | X | X | ||
| K-Cafe Select | X | X | X | X | X | |
| K-Cafe Special Edition | X | X | X | X | X | |
| K-Classic | X | X | X | |||
| K-Compact | X | X | X | |||
| K-Duo | X | X | X | X | ||
| K-Duo Essentials | X | X | X | |||
| K-Duo Plus | X | X | X | X | ||
| K-Duo Special Edition | X | X | X | X | ||
| K-Elite | X | X | X | X | X | |
| K-Express | X | X | X | |||
| K-Express Essentials | X | X | X | |||
| K-Latte | X | X | X | X | ||
| K-Mini | X | X | X | X | ||
| K-Mini Plus | X | X | X | X | ||
| K-Select | X | X | X | X | ||
| K-Slim | X | X | X | |||
| K-Slim + ICED | X | X | X | |||
| K-Supreme | X | X | X | X | ||
| K-Supreme Plus | X | X | X | X | X | |
| K-Supreme Plus SMART | X | X | X | X | X |
What To Do If Keurig Is Brewing Less Than The Cup Size Selected?
If your Keurig is not brewing the right size cup of coffee, there is likely a blockage somewhere in the brewer that is interfering with machine performance. There are a few common problems that can prevent a Keurig from brewing the right cup size. You may need to:
- Unclog the entrance and exit needles
- Descale your machine to remove internal blockages created by limescale buildup
- Clear limescale buildup or debris near the water tank valve
Unclog The Needles

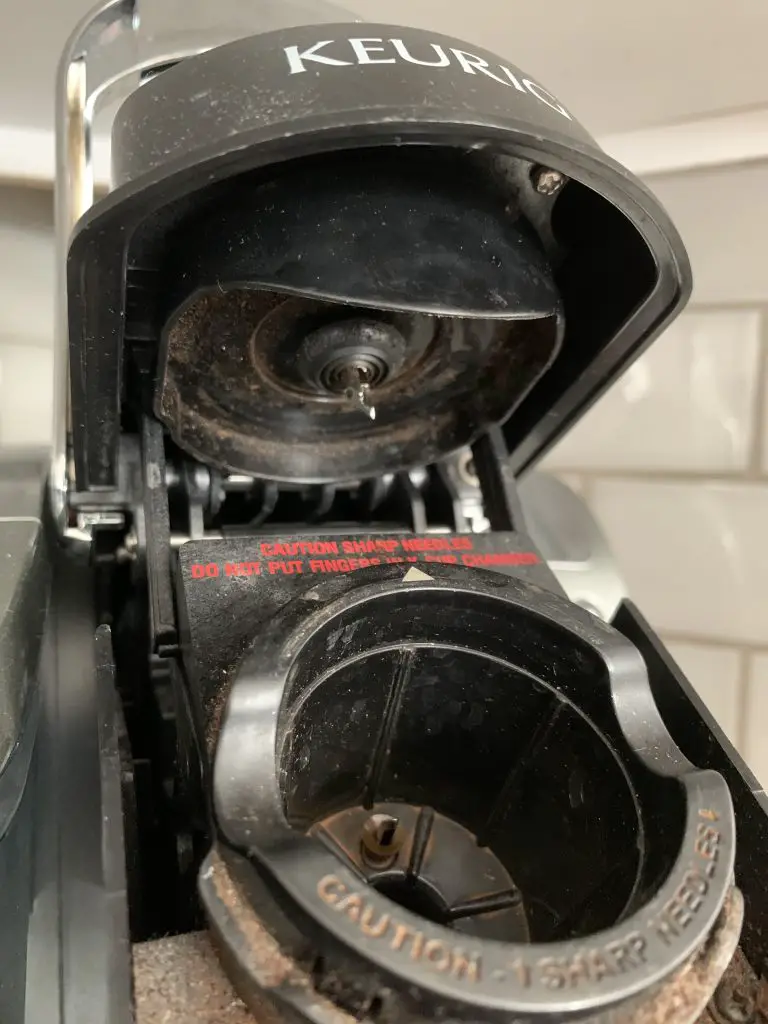
When you brew a K-cup, there are needles inside your coffee maker that make two holes in the pod. This allows hot water to pass through the capsule. The coffee grounds can get stuck around the needle and eventually become dry and hard. This is especially likely to happen if you don’t discard your pods soon after brewing. As a result, the ground coffee build up starts to block the water flow inside your Keurig, potentially resulting in the Keurig not brewing a full cup of coffee. Follow these steps to clean the needles:
- Straighten one end of a paper clip.
- Turn off the brewer and unplug it and remove the water reservoir.
- Grab the sides of the pod holder and remove it from the brewer by gently pulling away.
- Press the button on both sides to separate the holder from the housing. Push the lever to show the exit needle, then hold it down while flipping the holder over.
- Insert the straight end of the needle and then move it around in a circle a few times. Rinse the pod holder with water and set it aside.
- Open the handle and look underneath to see the top entrance and exit needles. Insert the paper clip in each and move it around to clean.
- Run an 8 oz hot water cycle into a measuring cup. If the water volume measures 8 oz, you’ve figured out why your Keurig was not making a full cup of coffee.
Descale
As the water used to brew your K-cup travels through your brewer, it leaves minerals behind that cause limescale to buildup inside your coffee maker. Eventually this buildup can get big enough to cause blockages that result in your Keurig brewing less than the cup size you selected.
It is best to not to use vinegar to descale. Instead, Keurig makes its own descaling solution that works with all models. The safe formula has no odor and acts fast to remove mineral buildup with gentle citric acid. You can buy the solution alone or as part of a bundle with rinse pods and filters that will also help you keep your machine clean. Once you have the descaling solution, follow these instructions to descale your Keurig.
Clear The Water Tank Valve
Water has to be able to freely flow from your tank into the machine. If there is any mineral buildup around the exit valve, the machine may not be able to pull the amount of water needed to brew a full cup. Here’s how to assess this issue and fix it:
- Empty the water tank. Remove the water filter holder.
- Flip the the reservoir over. Locate the nozzle with the spring. Take something dull like a the eraser end of a pencil and try pushing the spring down a few times. If it moves with ease, you can rule out any issues with that piece.
- Put the tank back on the machine. Fill it with about two to three inches of water.
- Grab a turkey baster. Suck up a little of the water from the tank.
- Squirt the baster directly into that top side of the black nozzle where the water should exit the tank. Repeat this several times, working all the way around the nozzle two or three times.
If you start to see particles floating up from the nozzle, this is calcium buildup that was causing the block.

