How To Fix A Nespresso Frother Blinking Red In 5 Easy Steps
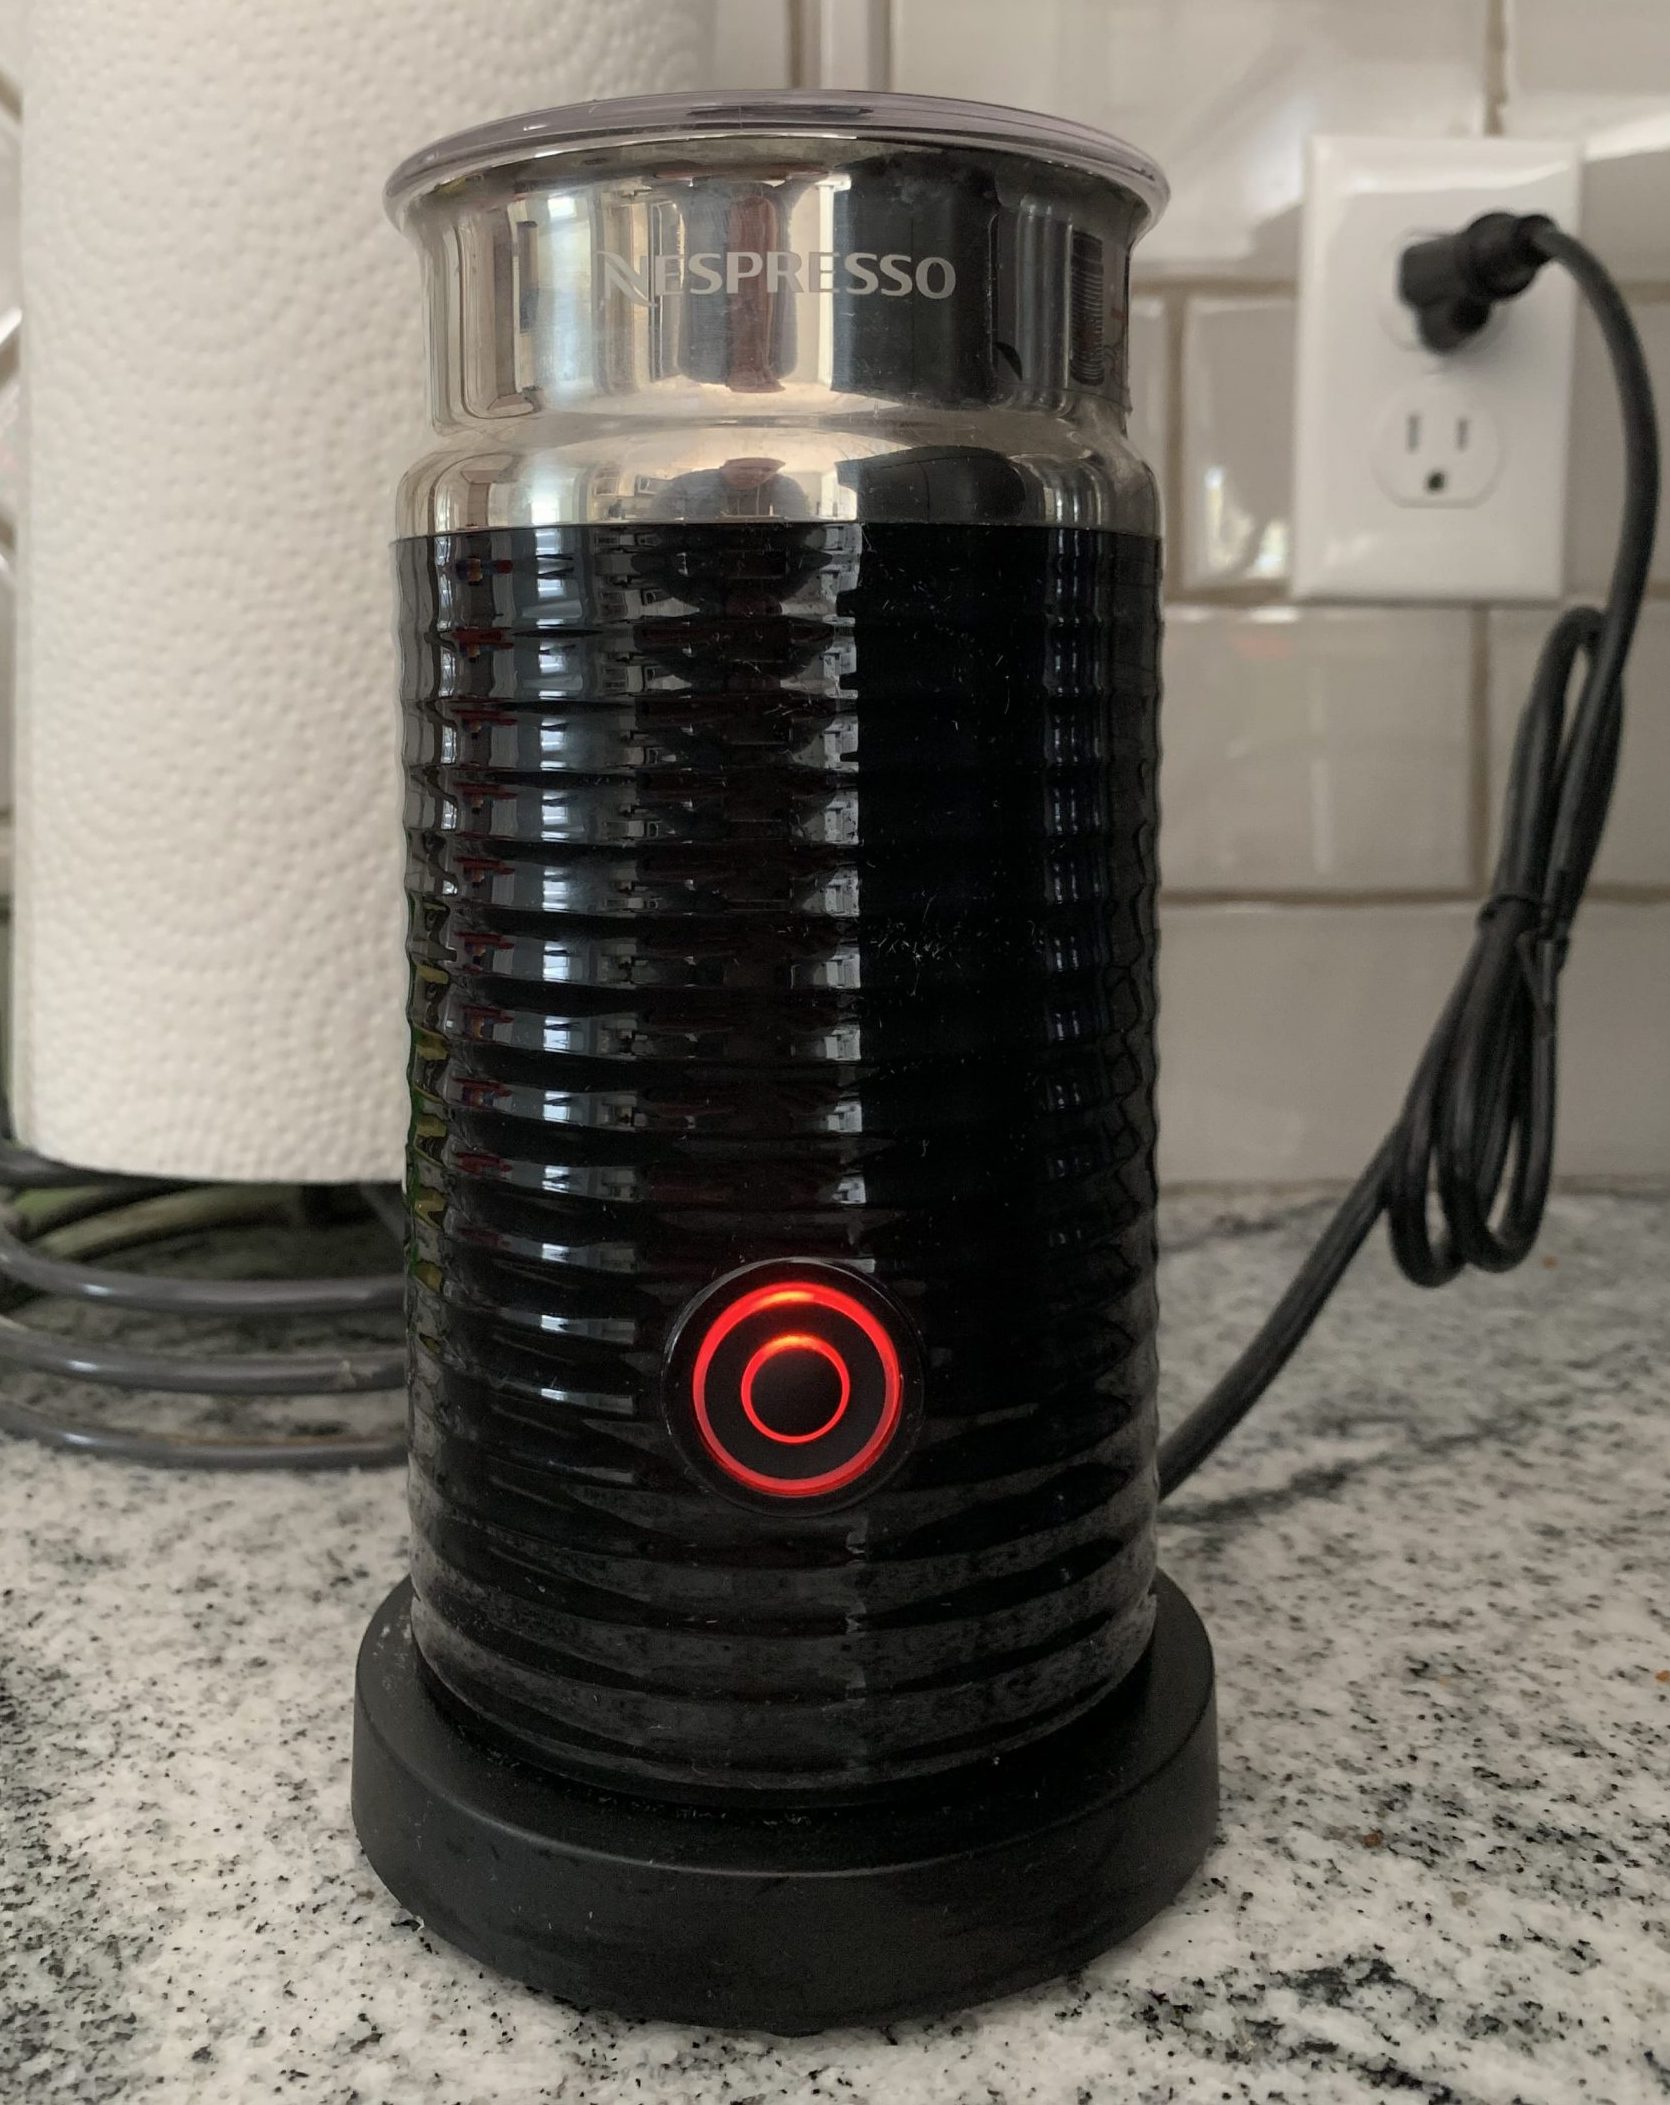
If you see a blinking red light on your Nespresso Aeroccino milk frother, it means that there is a machine error. But what exactly caused the error? How do you fix it so you can get back to making cappuccinos and lattes with your Nespresso machine? A Nespresso frother blinking red has five potential causes. Fortunately, you can fix most of these causes pretty easily. In addition, from time to time you may notice that your Aeroccino isn’t frothing as well as it used to. I have some tips to fix that too so you can get back to making your cup of coffee just as you like it. Keep reading to learn more.
- Why Is My Nespresso Frother Blinking Red?
- Reason #1: Missing or Broken Whisk
- Reason #2: Back To Back Uses Of The Aeroccino
- Reason #3: Aeroccino Jug Or Whisk Not Cleaned Properly
- Reason #4: Not Enough Milk
- Reason #5: Dirty or Loose Connection
- More Advanced Causes of Nespresso Frother Blinking Red
- Nespresso Aeroccino Not Frothing Well (No Flashing Red Light)
Why Is My Nespresso Frother Blinking Red?
There are 5 main errors that can explain why your Nespresso milk frother is blinking red:
- The small whisk piece inside the frother is either missing or broken and needs to be installed/replaced
- The frother has overheated and needs to cool down
- Either or both of the frother jug or the whisk piece are dirty and need to be cleaned
- There is not enough milk in the frother
- Something is interfering with the connection between the frother jug and the base
Reason #1: Missing or Broken Whisk
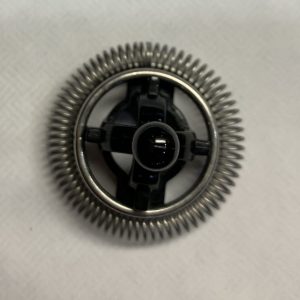
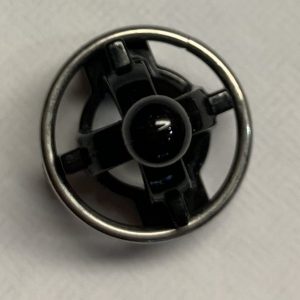
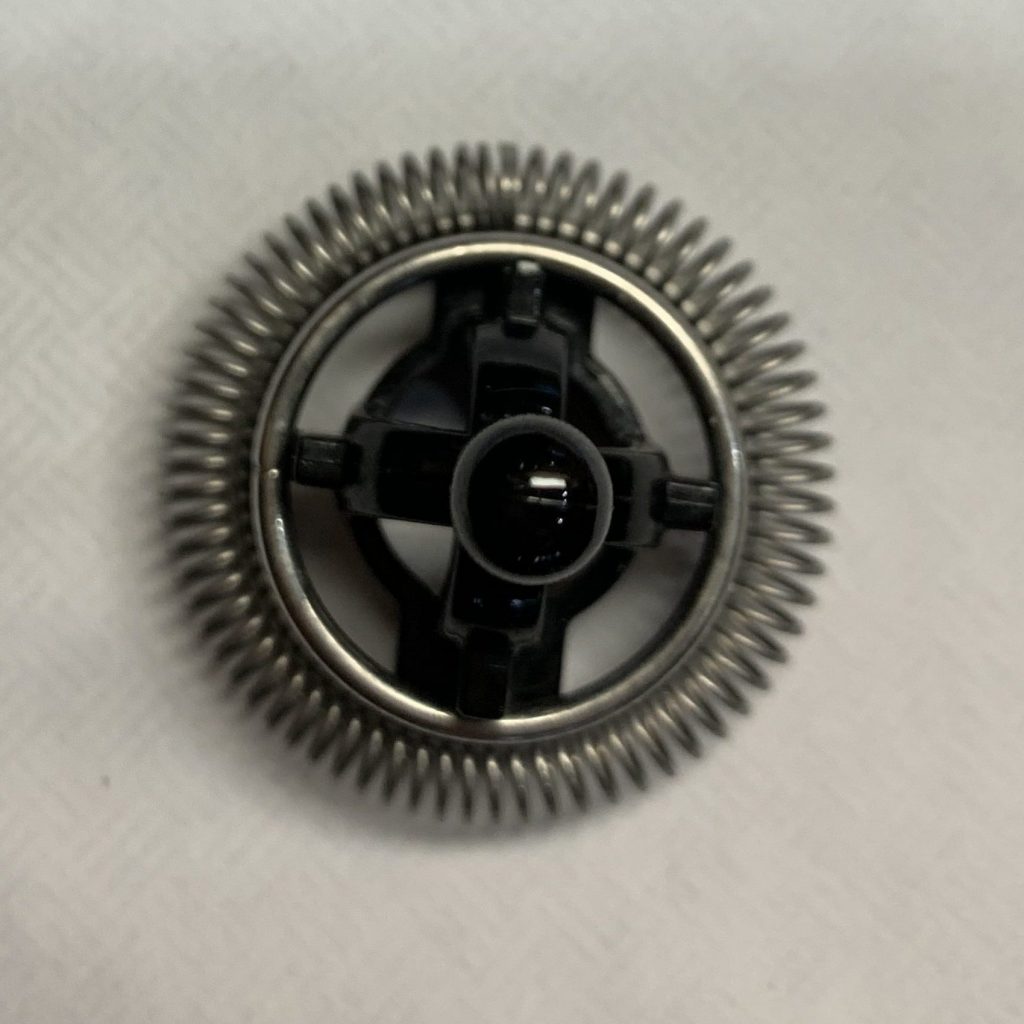
Depending on when you purchased your Aeroccino, you’ll either have two separate whisks or one that combines the ring with the coil. Either way, you need to make sure the magnetic whisk is in your machine otherwise it won’t work. But you have to know how to use the frother whisk properly.
If you want frothed or foaming milk leave the coil around the whisk and be sure to only fill to the bottom line. However, to steam milk for a latte, remove the coil before putting the whisk in. Without the coil, you can fill to either the bottom or top line. If you lost your whisk, you’ll need to get a new one. You can get a model 3 replacement or a model 4 replacement on Amazon.
No products found.
Reason #2: Back To Back Uses Of The Aeroccino
If you frothed milk for a drink and then immediately tried to use the Aeroccino again to froth milk for another one, it is possible that your machine has overheated. The Aeroccino has an internal thermostat that will stop the frother from operating if the temperature gets too high. This feature is a safety precaution to prevent it from burning out.
To fix this, wait 15-20 minutes for it to cool down. If you need to use it immediately, have the jug and lid rinsed with cold water to cool it down. Just be sure to not get the electrical contacts on the base wet.
Reason #3: Aeroccino Jug Or Whisk Not Cleaned Properly
The user manual says you need to clean your Nespresso milk frother machine after each use. If you haven’t been doing this, it is possible that traces of milk are left inside the Aeroccino. This is most common at the bottom of the jug, but it could also be on your whisk if you don’t remove it and rinse it after each use. This buildup of milk residue will cause the frother machine to heat up faster than it should, which will trigger the thermostat and stop it from operating.
Try cleaning the jug with cool water and a teflon approved sponge or non stick scourer. If you have the Aeroccino 3, make sure to wash by hand because it is not dishwasher safe. You’ll want to clean it until the walls and base are clear of any residue. Alternatively, some users have added water and a little dish soap up to the bottom max line in the frother and then turned it on to clean it. The Aeroccino 4 and Aeroccino XL are top rack dishwasher safe.
You should also thoroughly clean the whisk to remove any milk residue left on it after each use. However, if the gunk on the magnetic whisk is really hard to get off, try soaking it and vinegar overnight. In the morning, scrub it with a toothbrush or small wire brush. Then rinse it well until the vinegar odor is gone.
Reason #4: Not Enough Milk
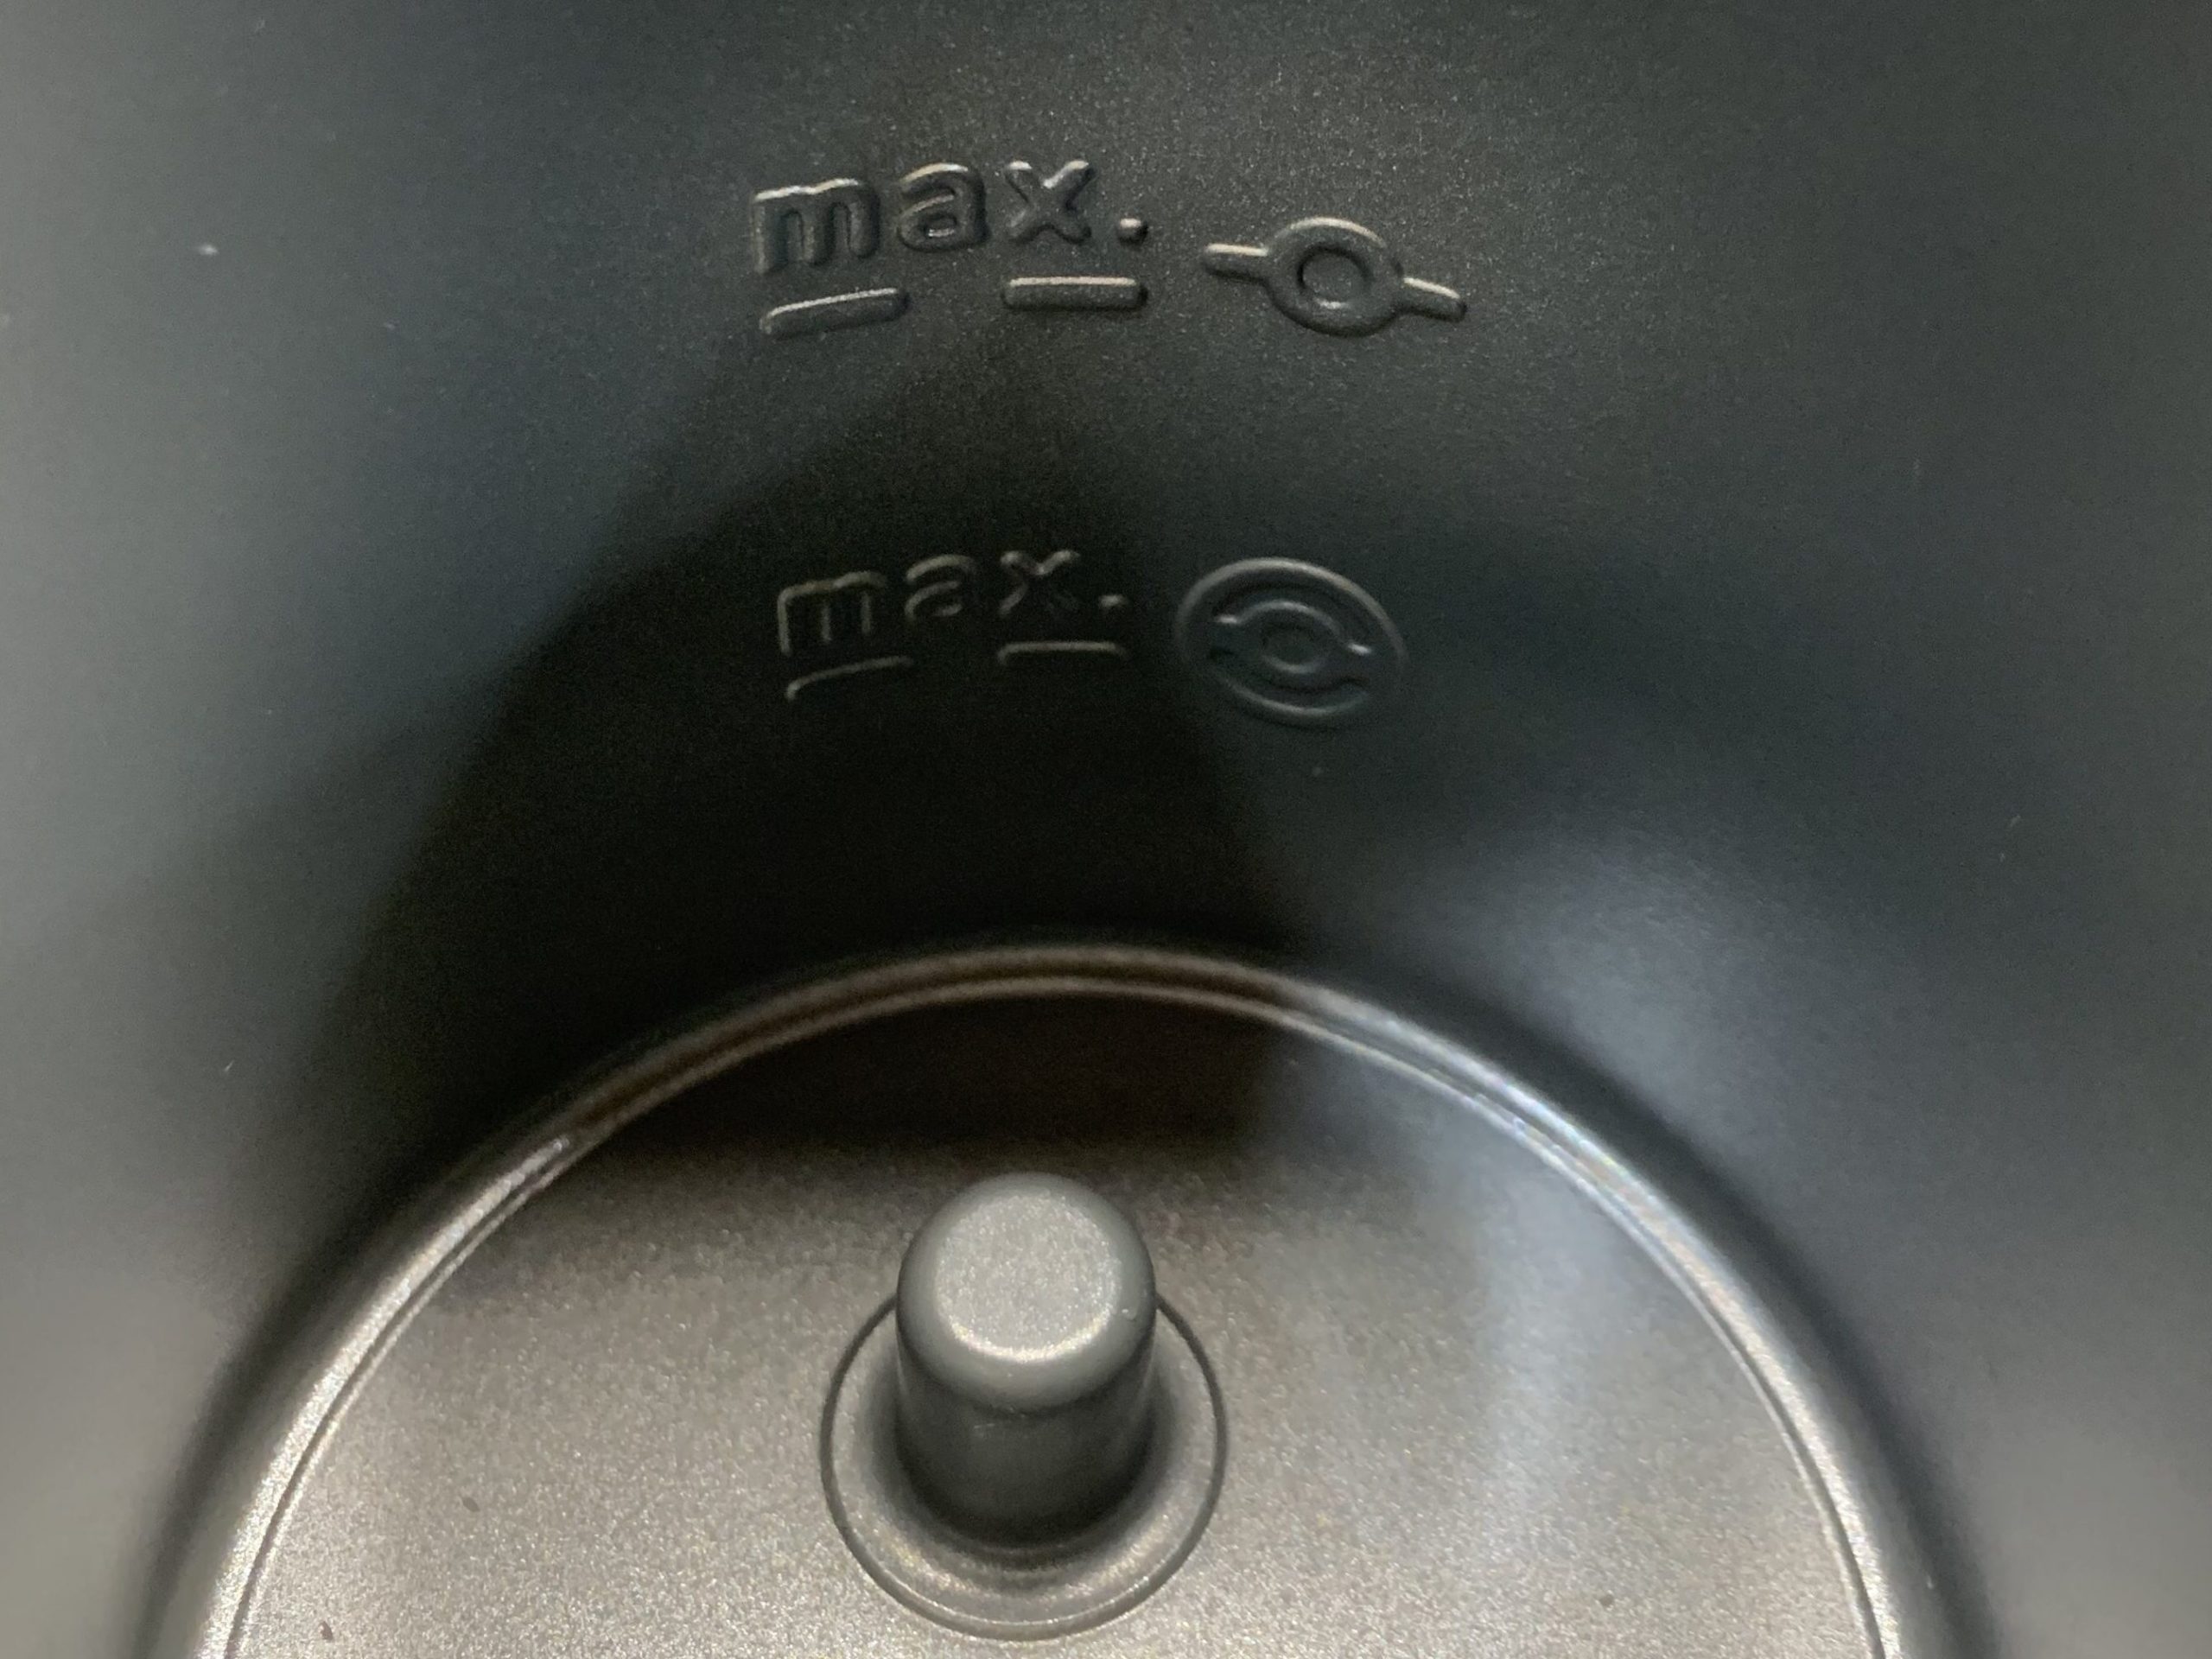
Be sure you fill your frother to one of the two max lines. If you have the coil on the whisk, only fill to the bottom line. Without the coil, you can fill to either the bottom or top line. Nespresso recommends that you use cold whole or reduced fat milk for best frothing results. The “barista” versions of non-dairy milks like oat and almond should also work. Other non-dairy milks may not froth as well.
Reason #5: Dirty or Loose Connection
Make sure that the whisk is securely attached to the jug. Then ensure that the jug is securely positioned onto the base. This base is how the frother gets its power. Make sure the connectors at the bottom of the jug and the top of the base look clean. If you’ve ever had milk overflow from the jug, it may be that it has crusted onto the base if it wasn’t cleaned.
Whether you see milk residue or any other type of gunk on the base connectors, unplug it and use a damp cloth to give it a clean. You can also try scrubbing it with a toothbrush or gentle sponge if it is really stuck on there. Dry the base and bottom of the jug off and try it again. If the Nespresso milk frother has still stopped working, you may want to try to hold the jug firmly on the base and then push the button to start the machine.
More Advanced Causes of Nespresso Frother Blinking Red
If you’ve tried all of these steps and your Nespresso frother is still blinking red, you should call Nespresso support. If your frother is not blinking red, but the whisk is not spinning, see my related post for some other things you can try.
It is possible that there is a more advanced issue that will be difficult for you to fix on your own. These include a defective or burnt out heating element or thermocouple, the piece that enables the unit to gauge temperature and shut off at the right time. You would have to open up the frother to address these. I never recommend doing that because it can void your one year warranty. Instead, it is best to contact Nespresso support. The toll free number is 1-800-562-1465.
If Support can’t help, you may need to consider buying a new frother. There are three Nespresso models currently on the market – the Aeroccino 3, the Aeroccino 4 and the Aeroccino XL. The fourth generation has some new features vs the Aero 3 that you may find valuable. The XL prepares enough milk for a large latte or three cappuccinos.
No products found.
Nespresso Aeroccino Not Frothing Well (No Flashing Red Light)
Some Aeroccino users have complained that all of a sudden the same milk they always use (even used the day before) is not frothing like it normally does. Why would that be? For starters, it always helps to rule out any issue with the cleanliness of the inside jug walls and the whisk and coil. Follow the steps in the “Reason #3” section above. And be sure that you are have the coil attached to the whisk! It won’t froth without it.
If your frother is clean, the problem may be with the liquid you are putting in there. You can test this by seeing if your frother creates foam when you add water to the bottom max line with a little bit of dish soap. If it foams, there is nothing wrong with your frother.
Dairy Milk
If you use dairy milk, you should try a new container of milk. You should consider buying a different milk brand too. After your container has been opened for 3 or more days, the protein properties of the milk can start to change due to exposure to light and oxygen. This can make the same jug of milk froth less well than the day before. Shake up the milk before pouring into the frother to try to mitigate this. When shopping for new milk remember that the more milk fat, the better the froth. That makes whole milk the best choice. The closer you get to skim, the less well it will work.
Non-Dairy Milk
Have you changed brands or products recently? If so, that could be the issue. Use of non-dairy milk in frothers is pretty hit or miss. You may need to be patient with some trial and error. Oat milk and almond milk tend to work best. Using the “barista” version if available will give you the most foam. The more fat content in the milk, the better. And don’t forget to shake it up before adding it to the frother!
Amazon Item Images and Prices Last update on 2025-06-16 / Affiliate links / Images from Amazon Product Advertising API

