How To Fix The Most Common Keurig Error Codes
Keurig commercial brewers like the 2500 and 3500, as well as the the newest home model – the K-Supreme Plus SMART – have a built in display that can show maintenance alerts and error codes. The most common codes users encounter are 2, 8, 11 and 17. Unfortunately, how to fix these errors is not very clear in the machine user manual. Keep reading to learn about some solutions that have worked for other users.
If you can’t fix it on your own, you should contact Keurig support. In some cases, they may offer to send you a replacement machine, especially if your original purchase is still under warranty. You’ll need your serial number if you haven’t registered the machine yet.
The Most Common Keurig Error Codes
It is not easy to find a good online resource explaining what all of the potential Keurig error codes mean and how to fix them. Most of the information I have gathered comes from posts other Keurig users have shared on social media. The most common Keurig error codes are:
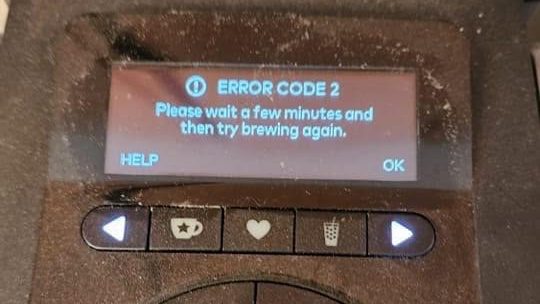
- 2: Please Wait A Few Minutes And Then Try Brewing Again
- 8: Please Unplug And Replug Brewer
- 11: Please Add Water
- 17: Overpressure Detected

Possible Keurig Error Code Solutions
There does not seem to be a silver bullet solution for any of these error codes based on what I have read. However, some users have had success with some of the following tricks. I’ve put the easiest possible solutions towards the front of the list in the hopes that one will work for you. You can also try a factory reset. If none of these methods work for you, you should contact Keurig support.
Try Brewing Without A Reusable Pod
If you are using a resuable pod, it is possible that the one you have is not compatible with your model. Try running a regular K-Cup or run a brew cycle without any pod in the chamber. If this makes the error go away, the issue is with your reusable K-cup.
Fill Up The Water Reservoir
The tank needs a minimum of 6 oz of water in order to brew. If you have this minimum level of water, try adding at least another 2 oz. Press the brew button. If that didn’t work, try filling your tank to the MAX line. Also, remove the water tank and reattach it, pressing down on it gently. Try brewing again.
Remove the Tank Lid
If you are using a Keurig that has a removable water tank with lid, like the K-Supreme, the lid may have a tight fit. Sometimes when the brewer is pulling water out of the tank, this tight fit can cause a vacuum to form. This will stop water from exiting the carafe during the next brew cycle, thereby causing the Keurig to show an error code or to shut off mid-brew. To fix this, try brewing without the lid on.
Remove and Replace The Water Filter
Your water filter should be replaced every 2 months or 60 tank fills, whichever comes first. If it has been longer than 2 months since you last changed it, a new filter may help. If not, you can try simply removing and reinstalling the existing used filter. Sometimes this will do the trick and resolve the Keurig add water error code.
Unclog The Needles

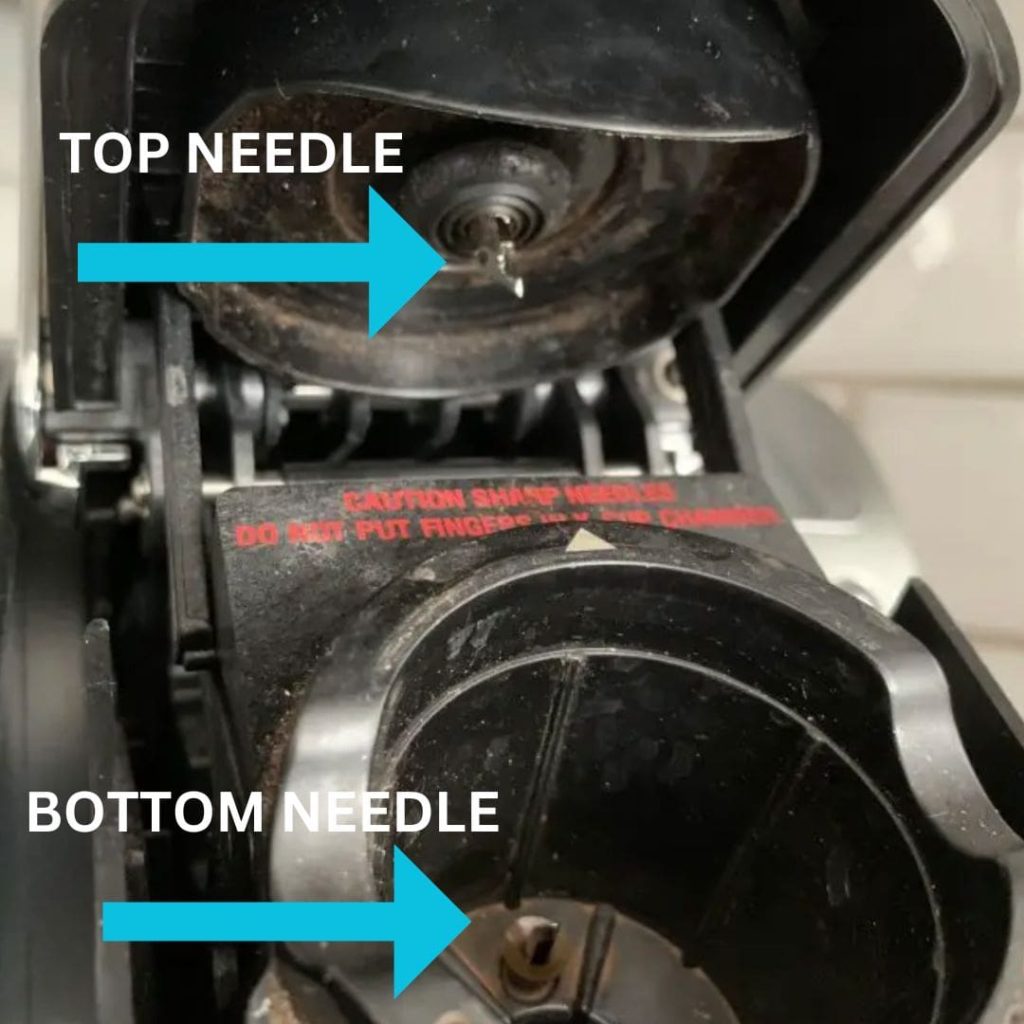
When you brew a K-cup, there are needles inside your K-Supreme coffee maker that make holes in the pod. The coffee grounds can get stuck around the needles and eventually become dry and hard. This is especially likely to happen if you don’t discard your pods soon after brewing. As a result, the ground coffee build up starts to block the water flow inside your Keurig, eventually resulting in a clogged needle and a machine cannot dispense water. You can use this paper clip method to clean the needles:
- Straighten one end of a paper clip.
- Turn off the brewer and unplug it and remove the water reservoir.
- To remove the pod holder, grasp the top of the pod holder with one hand while using the other hand to push up on it from the bottom until it releases. Pull the funnel off of the pod holder by pulling on it until it comes off.
- Flip the pod holder over and find the exit needle.
- Insert the straight end of the needle and then move it around in a circle a few times. Be careful as the needle is sharp!
- Open the handle and look underneath the lid to see the top entrance needles (depending on your model there may be one or many). Insert the paper clip in each needle and move it around to clean.
- Insert the pod holder back into place and run two water only cleansing brews.
Clear The Water Tank Exit
Water has to be able to freely flow from your tank into the machine. Make sure your tank is attached securely. If it is, then there may be mineral buildup around the exit nozzle that is causing a clog and preventing your Keurig from detecting water. Here’s how to assess this issue and unclog it:
- Empty the water tank. Remove the water filter holder.
- Flip the the reservoir over. Locate the nozzle with the spring. Take something dull like a the eraser end of a pencil and try pushing the spring down a few times. If it moves with ease, you can rule out any issues with that piece.
- Put the tank back on the machine. Fill it with about two to three inches of water.
- Grab a turkey baster. Suck up a little of the water from the tank.
- Squirt the baster directly into that top side of the black nozzle where the water should exit the tank. Repeat this several times, working all the way around the nozzle two or three times.
If you start to see particles floating up from the nozzle, this is calcium buildup that was causing the block. Try running a hot water cycle into a measuring cup to see if the machine will brew a full cup.
Clear A Possible Air Lock
If you every accidentally ran a brew cycle with not enough water in the tank, it is possible that air has gotten inside the water tubes. This may be causing a clog that is preventing the Keurig from detecting water.
- Fill the tank about a quarter of the way with water.
- Lift the tank up and down quickly. You should see little air bubbles coming up from the water intake valve at the base of the reservoir. Repeat until the bubbles stop appearing.
- Fill the water tank with water to the max line. Run a hot water brew cycle. If water starts flowing through the machine, you’ve fixed the issue.
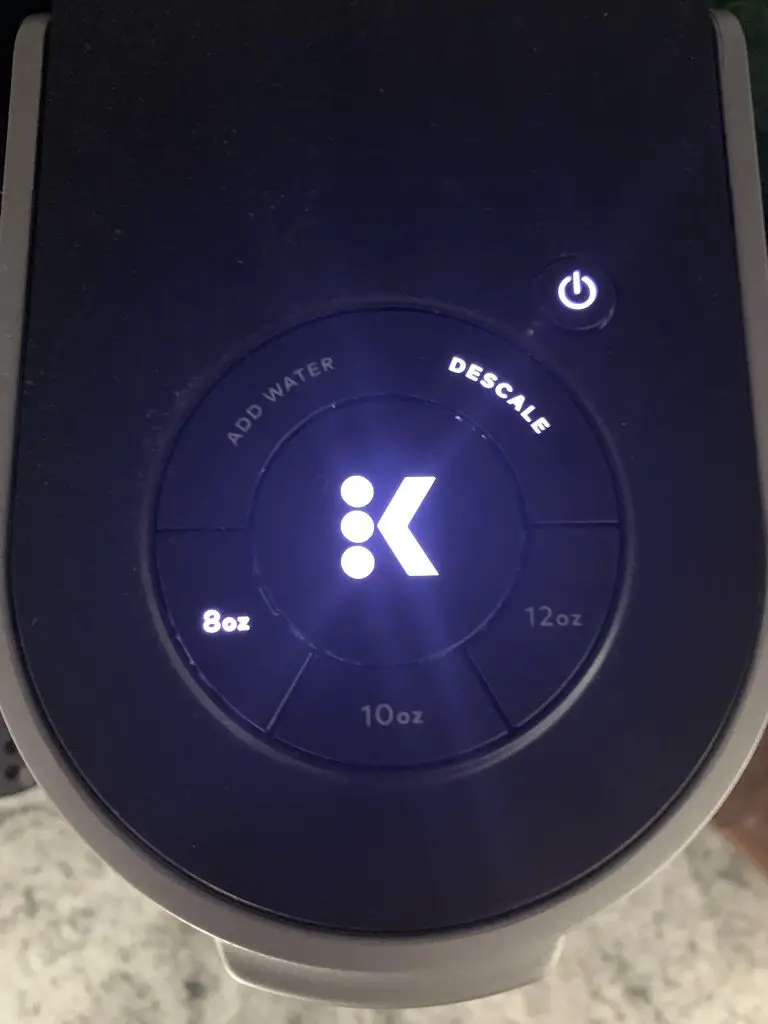
Descale To Remove Internal Water Flow Blocks
If you found calcium buildup in your water tank, it is likely inside your machine too. As the water used to brew your K-cups travels through your brewer, it leaves minerals behind that cause limescale to buildup inside your machine. Eventually this buildup can get big enough to result in your Keurig becoming clogged. When this happens, your Keurig won’t dispense any or enough water and this could trigger an “add water” error.

You should descale every 3 to 6 months, even if you are using a water filter. If your tap has “hard water,” meaning it contains a high level of minerals, then you should descale your brewer more often. If you are unsure if you have hard water, you can get a low-cost testing kit.
Keurig makes its own descaling solution that works with all models. The safe formula has no odor and acts fast to remove mineral buildup with gentle citric acid. You can buy the solution alone or as part of a bundle with rinse pods and filters that will also help you keep your machine clean.
No products found.
Once you have the descaling solution, follow these instructions to descale your Keurig or Keurig Supreme model. If you’ve had your machine for more than 6 months and never descaled, or if you have very hard water, you may need to run this process at least 2 times.
Amazon Item Images and Prices Last update on 2025-06-18 / Affiliate links / Images from Amazon Product Advertising API


I have a Keruig K-Duo Single Serve and Carafe Coffee Maker. I woke uoyesterdaymorCan you help me? I woke yesterday amy unit would not work. Itr gave a message code of ( │┌ ).
I tried resetting the unit and descaling it with no success. Can you help me and can you tell me what that code means?
Hi Debbie – Yes, you can see my related post on Keurig K-Duo error codes