How To Fix A Nespresso Machine That Is Not Piercing Capsules
In order for Nespresso coffee or espresso to end up in your cup, hot water needs to be able to enter and exit the pods. If your Nespresso is not piercing or puncturing the coffee capsules, you won’t get coffee. Insufficient water pressure or a dirty pod holder may be to blame. Keep reading to learn about the common causes of this problem and how you can fix them. I start with the easiest ones so you can rule those out first before tackling the more involved solutions.
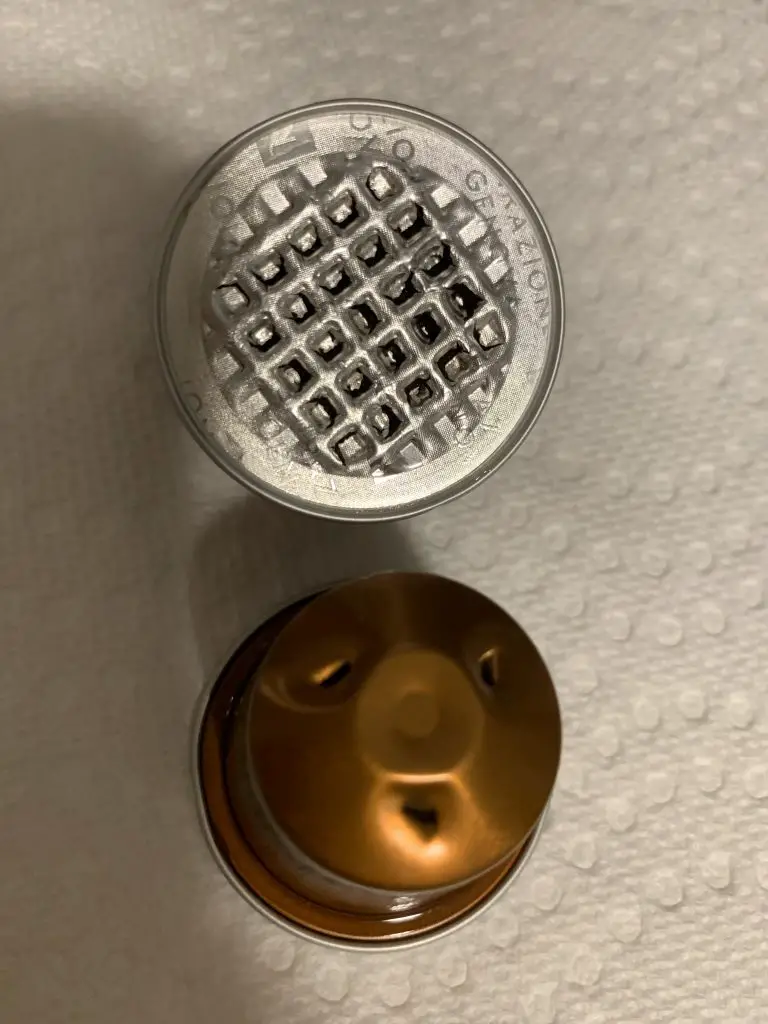
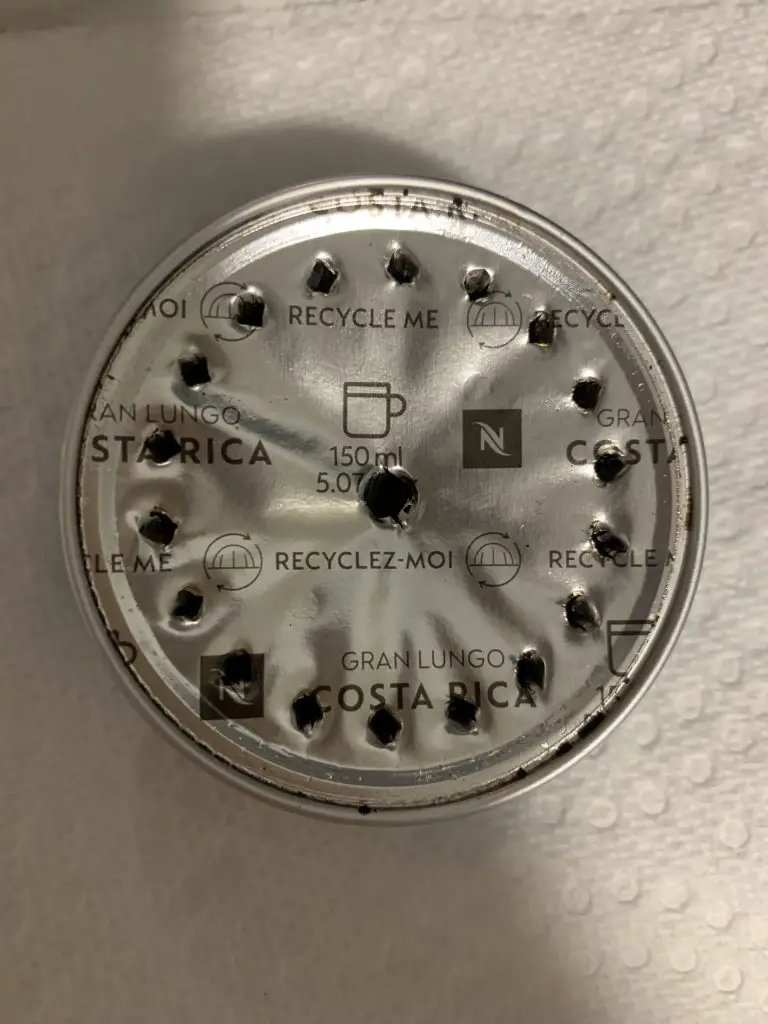
Here is what a correctly punctured pod should look like:


- Nespresso Pod Not Inserted Correctly
- Original Lever Not Closed Completely or Vertuo Lid Not Locked
- Third Party “Nespresso” Capsules Not Piercing Correctly
- Dirty or Clogged Nespresso Pod Holder Brewing Chamber
- Limescale Buildup Reducing Water Pressure Needed For Piercing Nespresso Capsules
- Water Tank Air Lock Limiting Water Pressure
Nespresso Pod Not Inserted Correctly
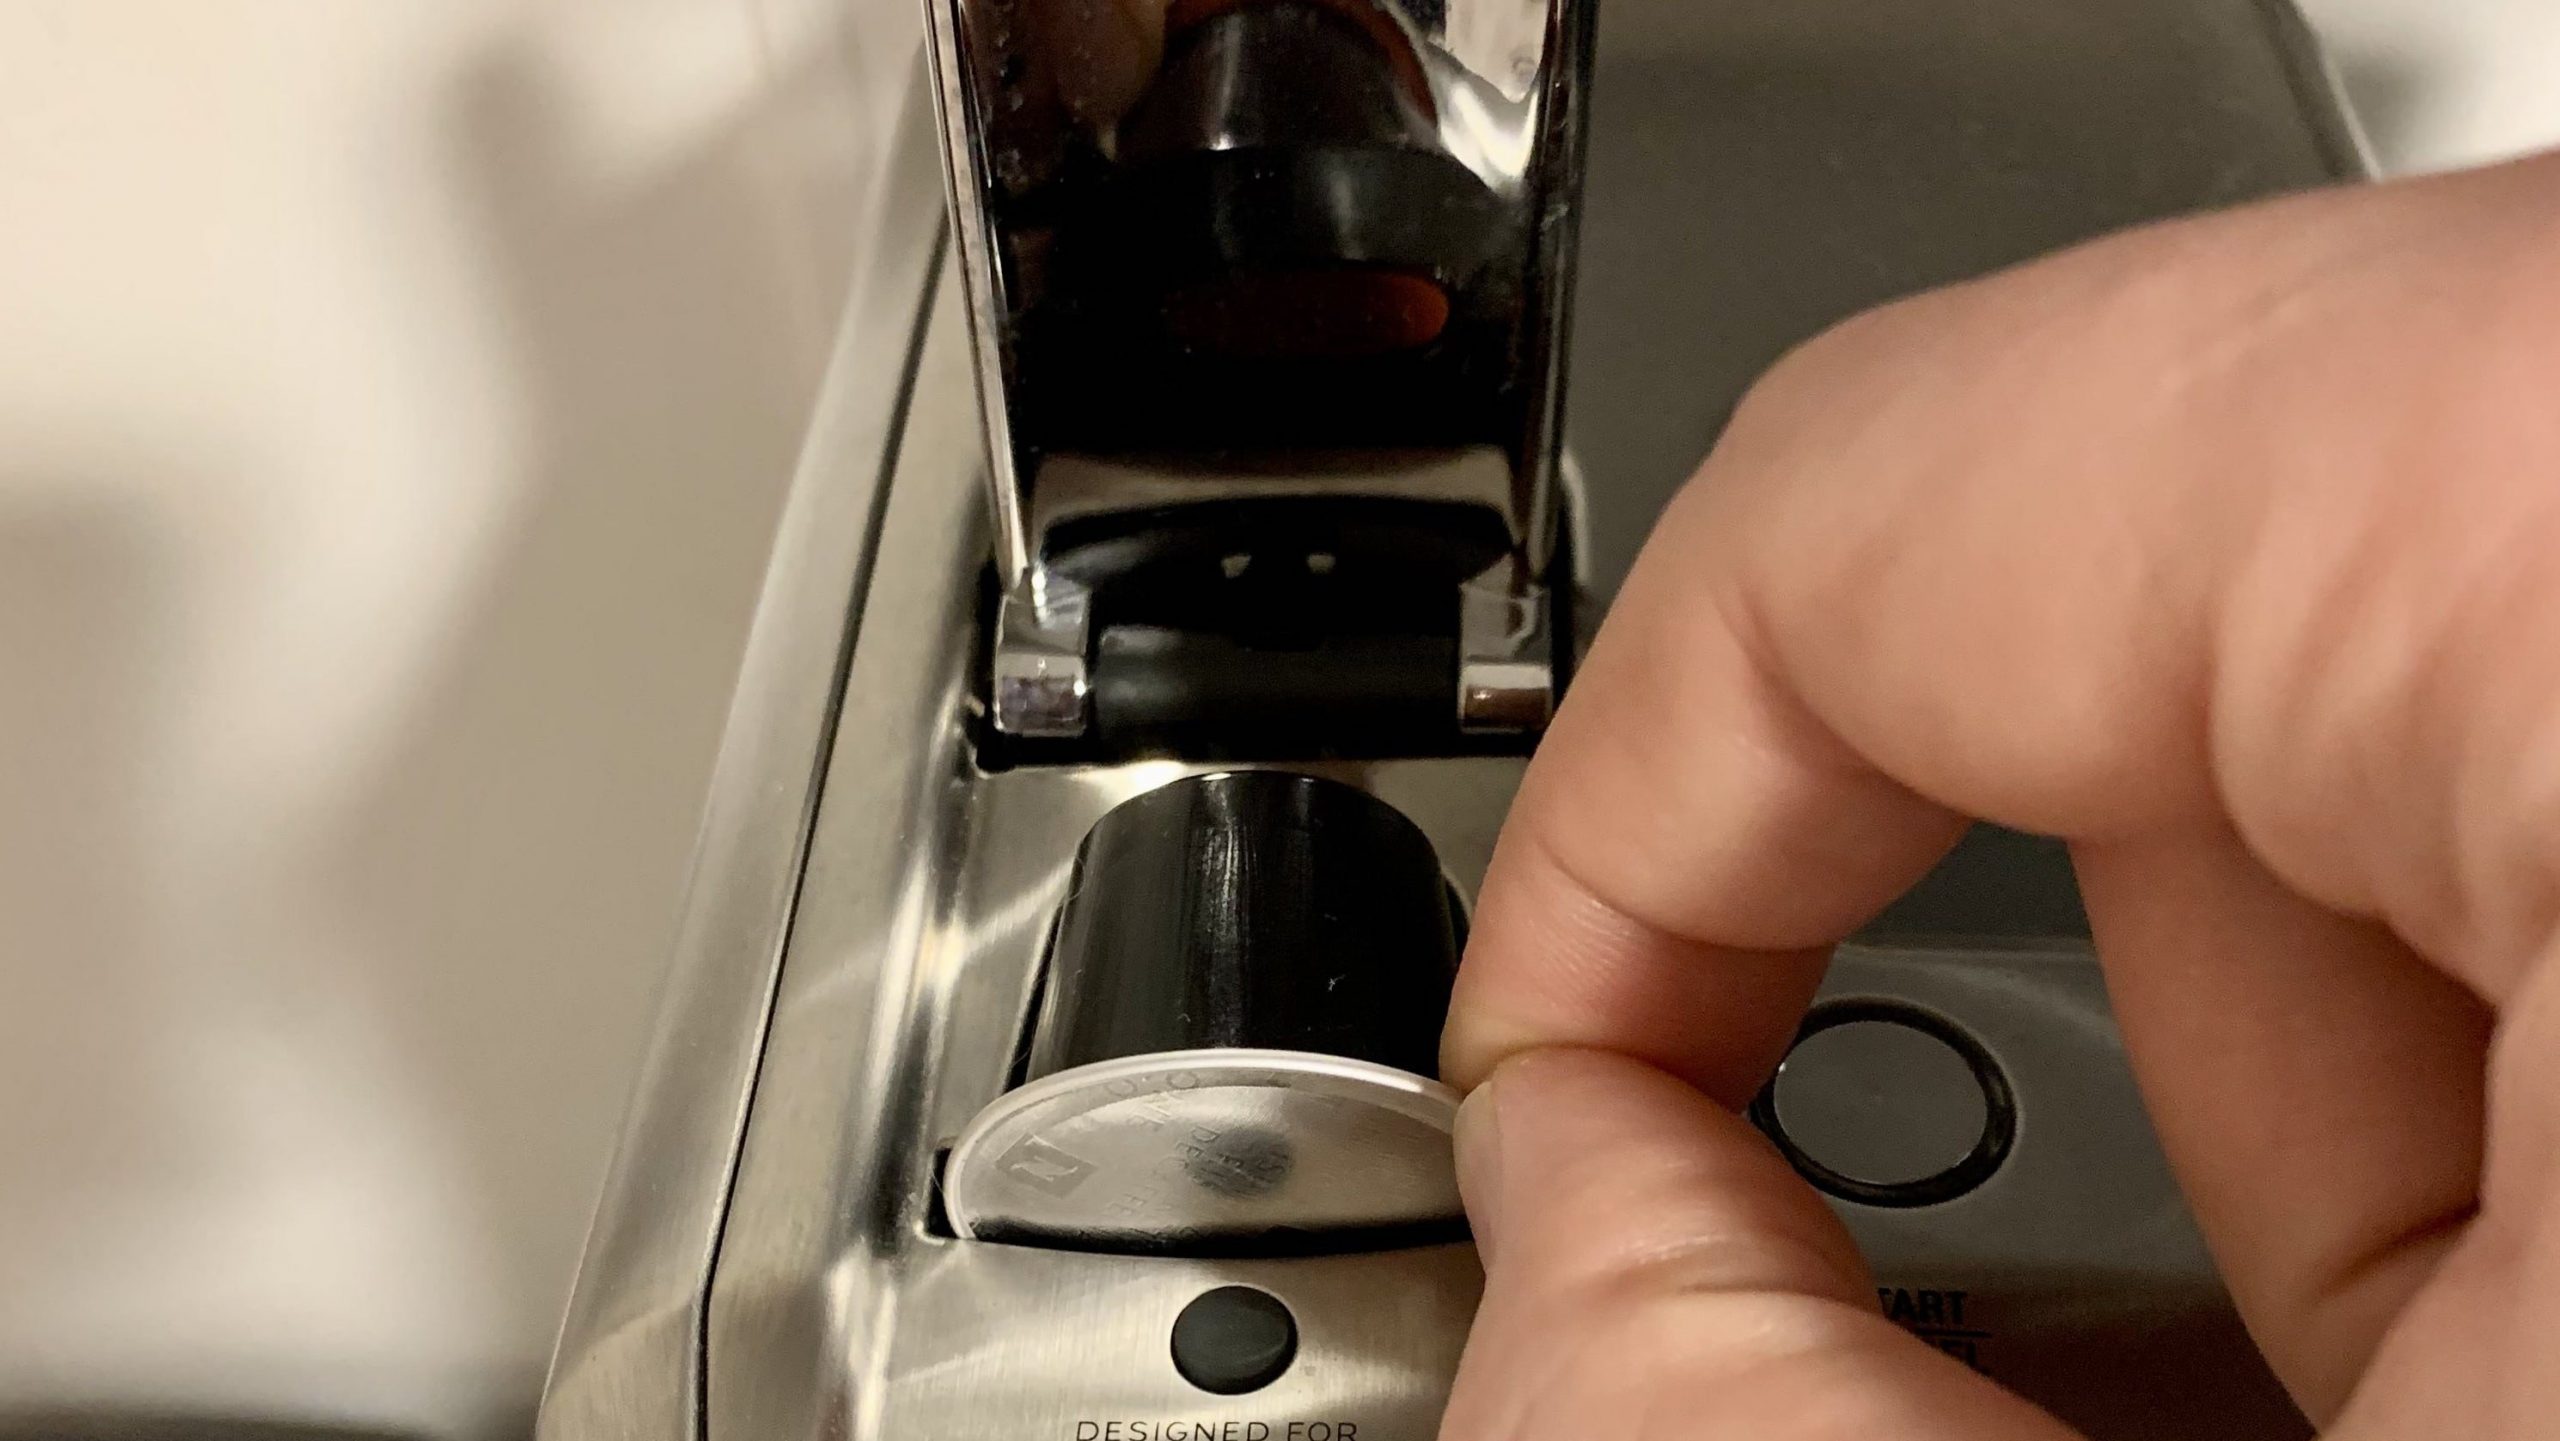
If you have an Original Nespresso machine, the flat lid part of the pod should be facing you. The dome-shaped end of the pod should be facing the back of the machine. When inserting the pod into the brewing chamber, make sure the lever is all the way up and open. This will allow the capsule to sit correctly in the brewing chamber. Then slowly close the lever. If you have any trouble closing the lever, make sure the pod is lined up correctly and not at any angle.


Inserting a pod into a Nespresso Vertuo machine is easy. Open the brew head and place the capsule in the pod holder. The dome shape will be facing down and you should only be able to see the foil lid.
Original Lever Not Closed Completely or Vertuo Lid Not Locked
If your used capsule container is too full, the lever or lid may not be able to fully close. Vertuo machines will give you a red or orange light error, but Original machines won’t. If you try to brew a Nespresso pod while the lever is slightly open, there will not be enough pressure built up inside the chamber to pierce the capsule.
Empty the used capsule container. Then insert a new pod and try to close the lever all the way. On some models like the Creatista Plus, you should not have to use much force at all. Other models, like the Essenza Mini, may require you to push it down a bit harder. As long as you are using an official Nespresso pod and it is inserted correctly, pushing down on the lever a bit firmly shouldn’t hurt your machine.
Third Party “Nespresso” Capsules Not Piercing Correctly
Nespresso says you should not use third party capsules in your coffee maker. If you have a Vertuoline model, that’s not a problem. The only Vertuo pods available are made Nespresso (or its official partner Starbucks).
However, if you have an Original line machine, you may be tempted to try some third party capsules. You’ll find pods from brands like Peet’s and Lavazza. Many stores like Target, Williams-Sonoma and even Trader Joe’s make their own version of these pods too. That makes it convenient if you are trying to figure out where to buy pods close to you.
If your Nespresso is not puncturing a third party capsule, try using an official Nespresso pod instead. If the Nespresso pod is pierced correctly, then the issue is with the brand of pods you are using.
Dirty or Clogged Nespresso Pod Holder Brewing Chamber
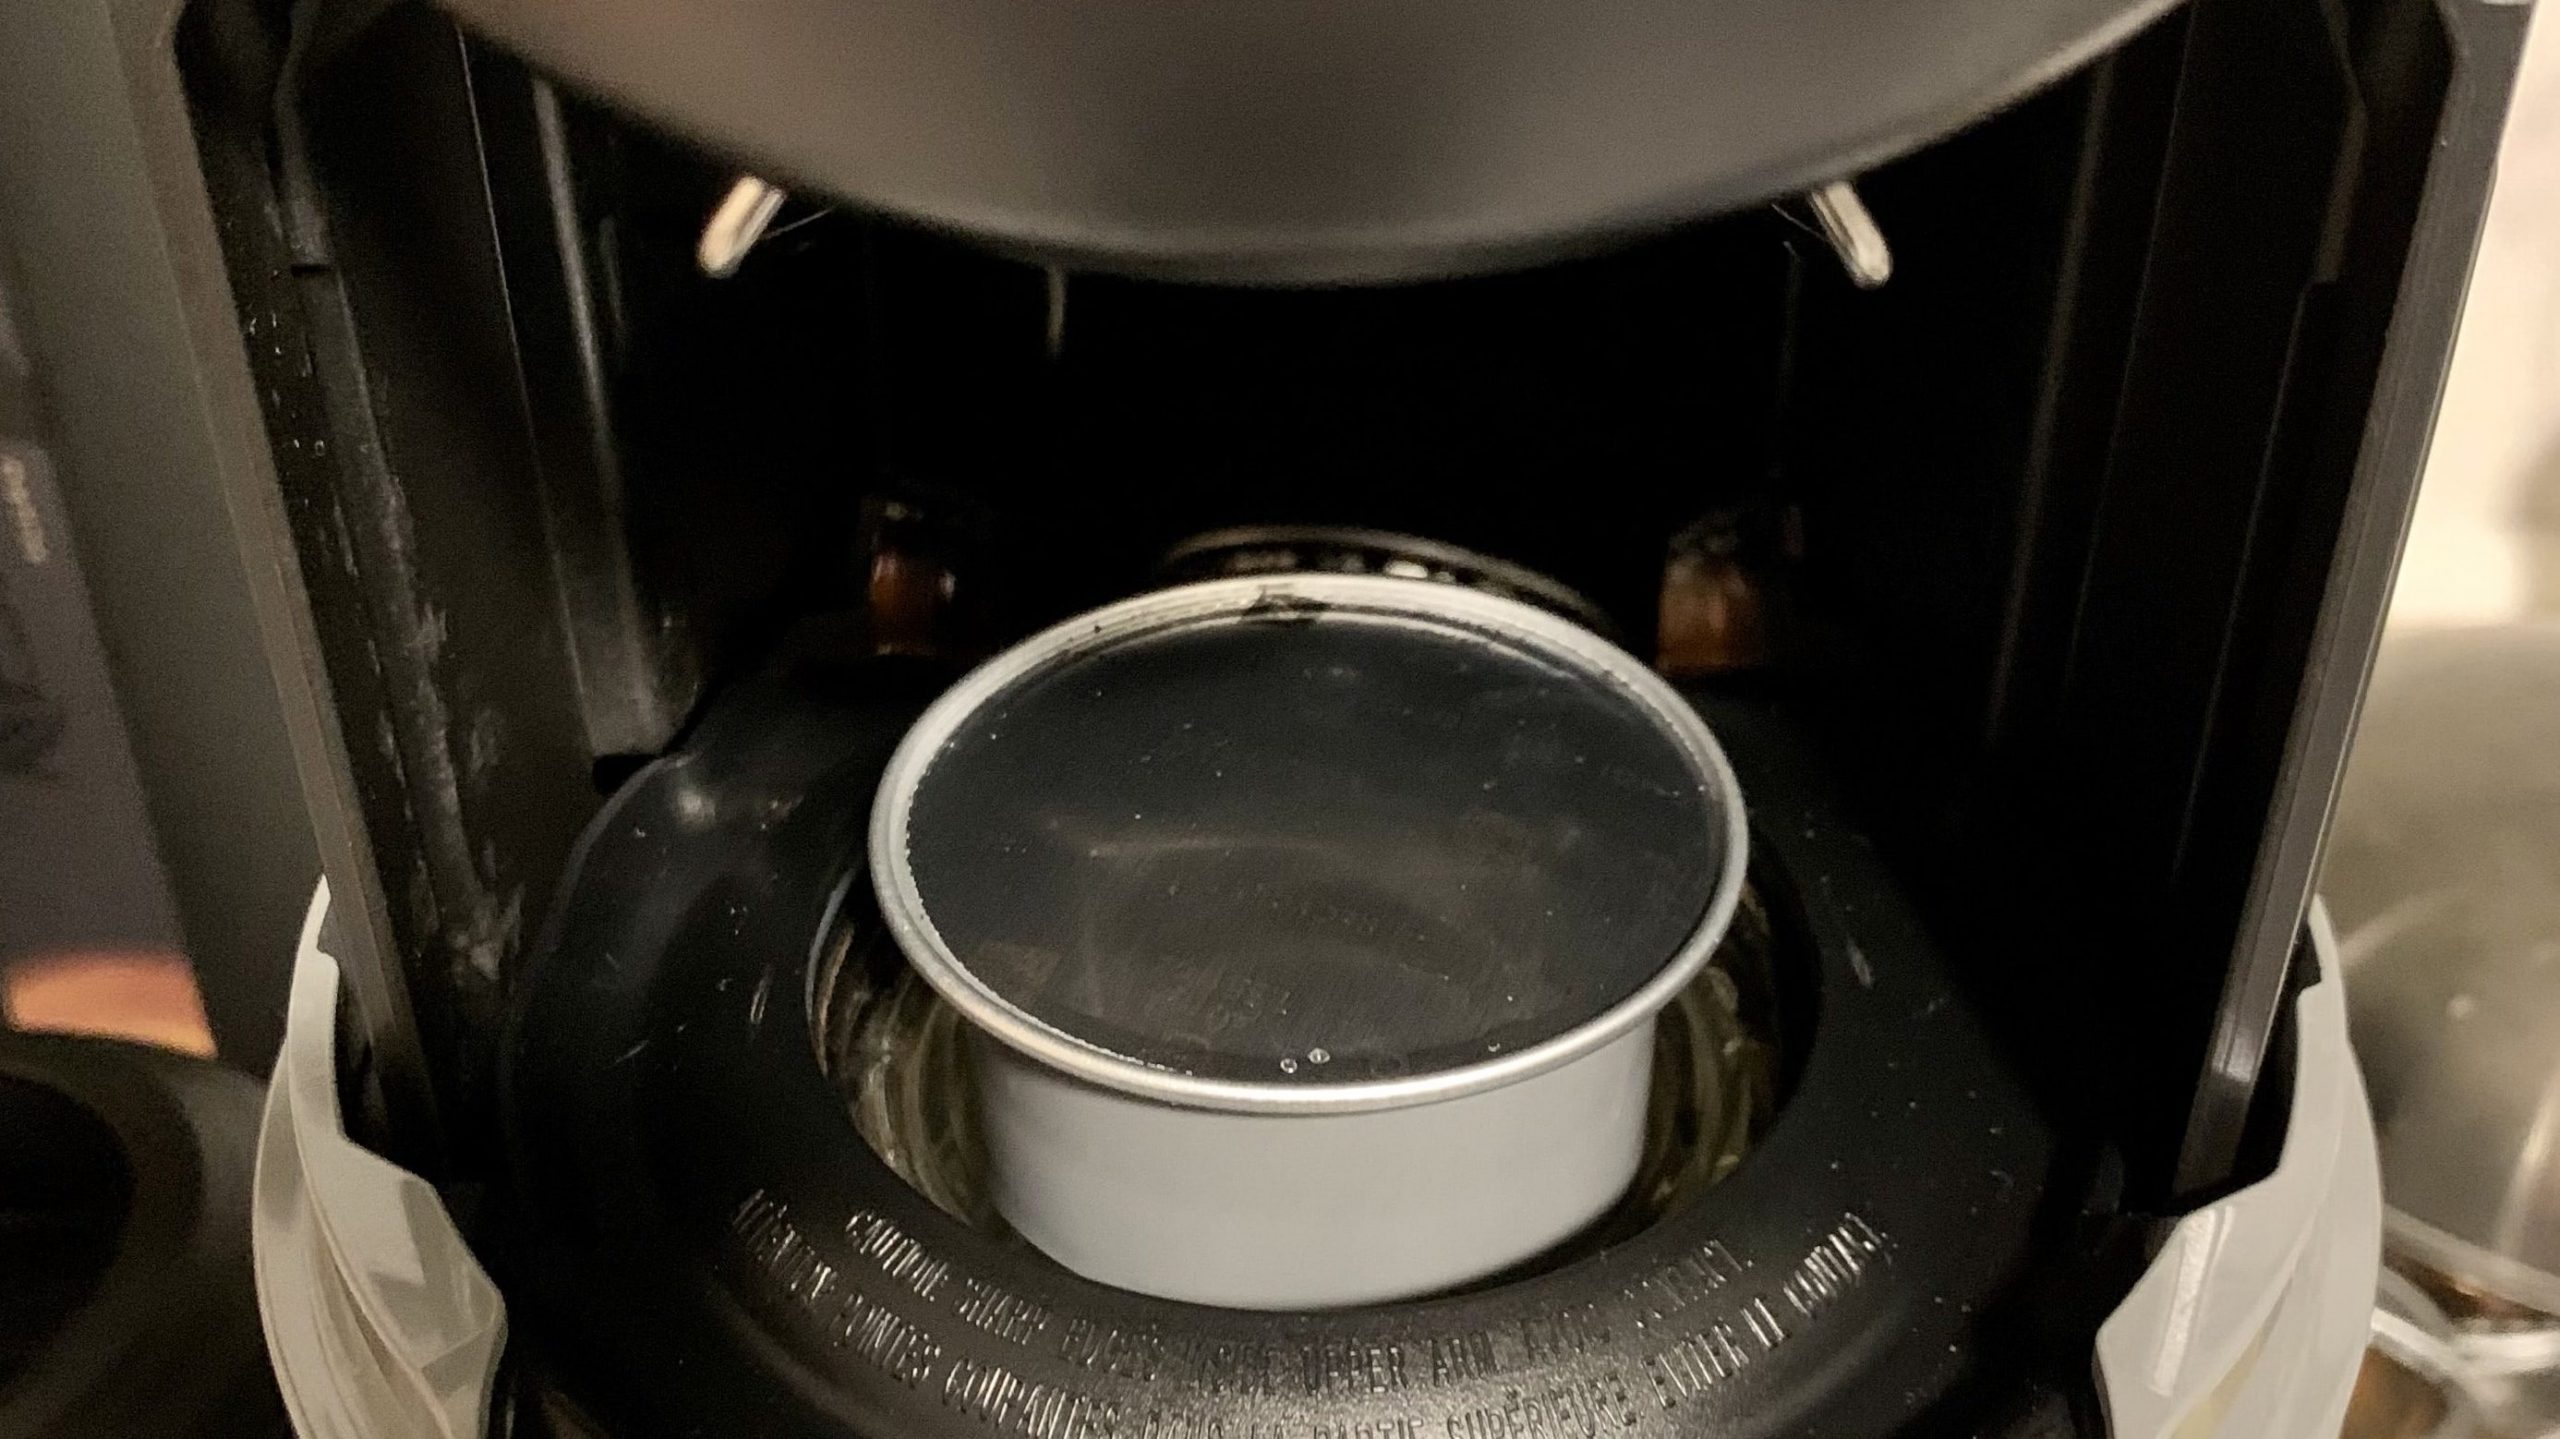
Do you run cleaning cycles on your Nespresso machine regularly? If not, coffee grinds may be building up inside your brewing chamber. When this happens, they get stuck on the internal parts that are used to help puncture the pods. If the grinds are dulling the sharpness of these parts, this could be the reason why your Nespresso machine is not piercing the coffee capsules.
The first thing you should do is run water through the machine. If you have a Vertuo, you’ll have to follow the steps to initiate a cleaning rinse. If you have an Original machine, just open the lever to eject a pod from the chamber. Then close it without putting a pod in, and press lungo button. Water will dispense into your cup and it will probably look really dirty. Do this a few times until the water starts to look clear.
If the water still looks dirty after three tries, grab a spare toothbrush and dampen it with warm water. If you have a Vertuo machine, open the brew head. Use the toothbrush to carefully and gently scrub the spinning piece on the underside of the lid that pierces the pod foil lid. If you have an Original machine, insert the toothbrush into the pod chamber with the bristles facing you. Gently scrub with the toothbrush. When you pull it out, the toothbrush will probably look very brown. Try running a cleaning cycle a couple more times. The water should be getting clearer.
Once you get pretty clear water, try inserting a new pod. If your machine is still not piercing Nespresso capsules, you may have an issue with water pressure. Keep reading to learn more.
Limescale Buildup Reducing Water Pressure Needed For Piercing Nespresso Capsules
The water used to brew your pods contains minerals that build up inside your machine. If left untreated, these minerals can have a negative impact the machine’s water flow and pressure. Since water pressure plays an important role in piercing the Nespresso pods, limescale buildup could be the reason why your capsules are not getting punctured. Descaling is the the process that removes minerals.
Nespresso recommends you descale your coffee maker every 3 months or 300 capsules, whichever comes first. If your tap has “hard water,” meaning it contains higher level of minerals, then you should do this more frequently.
The steps to descale your Nespresso will vary depending on whether you have a Vertuo machine or an Original machine (Essenza, Pixie, CitiZ, Inissia, Lattissima or Creatista). You will need a descaling solution. If you’ve had your Nespresso for longer than 3 months and never descaled, you may need to repeat this process a couple times.
No products found.
Water Tank Air Lock Limiting Water Pressure
If you haven’t used your Nespresso machine in a long time or if you accidentally ran it without water in the tank, there could be air bubbles interfering with the water flow and water pressure. Your machine pump will make an unusually loud noise as the water tries to get past the air bubbles. If any water does start coming out, you may notice many air bubbles in it.
For an Original Nespresso machine, you will want to try running water through the machine. Follow these steps:
- Fill the water tank to the MAX line.
- Turn the machine on and open the lever to eject any capsule.
- When the machine has warmed up, press the button to make an espresso or lungo. The pump will begin making noise.
- Inspect the area where you would normally place a pod. If you see steam or water, you’ve solved the problem. If not, you’ll need to repeat this process. It could take anywhere from 5 to 10 tries or more.
- Once you see steam or water, close the lever and run another 5 espressos or lungos with no pod in the unit.
Unfortunately, you can’t run a water only cycle with Vertuo machines because they require a pod with a barcode to be inserted in order to brew. You could try to take a pod, carefully cut the foil off, discard the coffee grounds, rinse it out and then place it in the machine. Fill the water tank to the MAX line and press the button to start brewing. As noted above you may have to do this 5, 10 or more times until water starts to come out.
There are a few other methods you can try if your Nespresso machine is not piercing capsules because an air lock is interfering with the water pressure.
Method 1 – Baster
- Remove the water reservoir. Inspect the base where you place the tank to make sure there isn’t any debris that is interfering with the tank attaching securely to the machine. If there is, clean it and try again.
- Fill the water tank. Hold it over a sink and press the valve button at the bottom. If water releases, you can be sure there is no issue with your tank. If not, try clearing anything that may be blocking the valve.
- Use a baster, eye dropper or teaspoon to add a small amount of water to the indent in the base where the water tank valve would usually connect.
- Leave the tank off of the machine. Start the pump and then stop it right away. See if the machine sucked in those few drops of water.
- If it did, reattach the tank to the machine and start the pump. Press the button to start brewing. Hopefully you see water flowing through the machine now.
Method 2 – Persistence
Fill the water reservoir to the MAX line. Place it on and off the base three to five times, being sure that it clicks securely into place each time. Press the button to attempt to start brewing. You may need to continue to press the button for as long as 10 to 15 minutes until the water starts to flow.
Method 3 – Patience
Fill the tank to the MAX line and reattach it to the machine, making sure it clicks. Let the machine sit for one to two hours. Turn the machine on and see if you can get water to flow through now.
Amazon Item Images and Prices Last update on 2024-07-12 / Affiliate links / Images from Amazon Product Advertising API


